The Makings of Rosé

There are a couple of options for making a rosé, including blending different wines together, but we opted for using red grapes and basically processing them just like a white wine.  

With other words, we picked the grapes, ran them through the crusher/destemmer and the put them into the press.  We collected all the free run juice first (about 40 gallons), and then started to gently press the grapes for another 5 gallons, which were added to the free run juice.  We continued pressing the grapes, but kept this juice separately – which yielded about 7 gallons.  Toward the end of pressing, the juice had a distinct “vegetative” flavor, from the bits of stems and seeds that got crushed – not nearly as pleasant tasting as the free run juice.

ice bag floating in the fresh juice

We cooled the juice by dropping previously frozen and sealed ice bags into the wine, to keep the temperature around 65° F. 

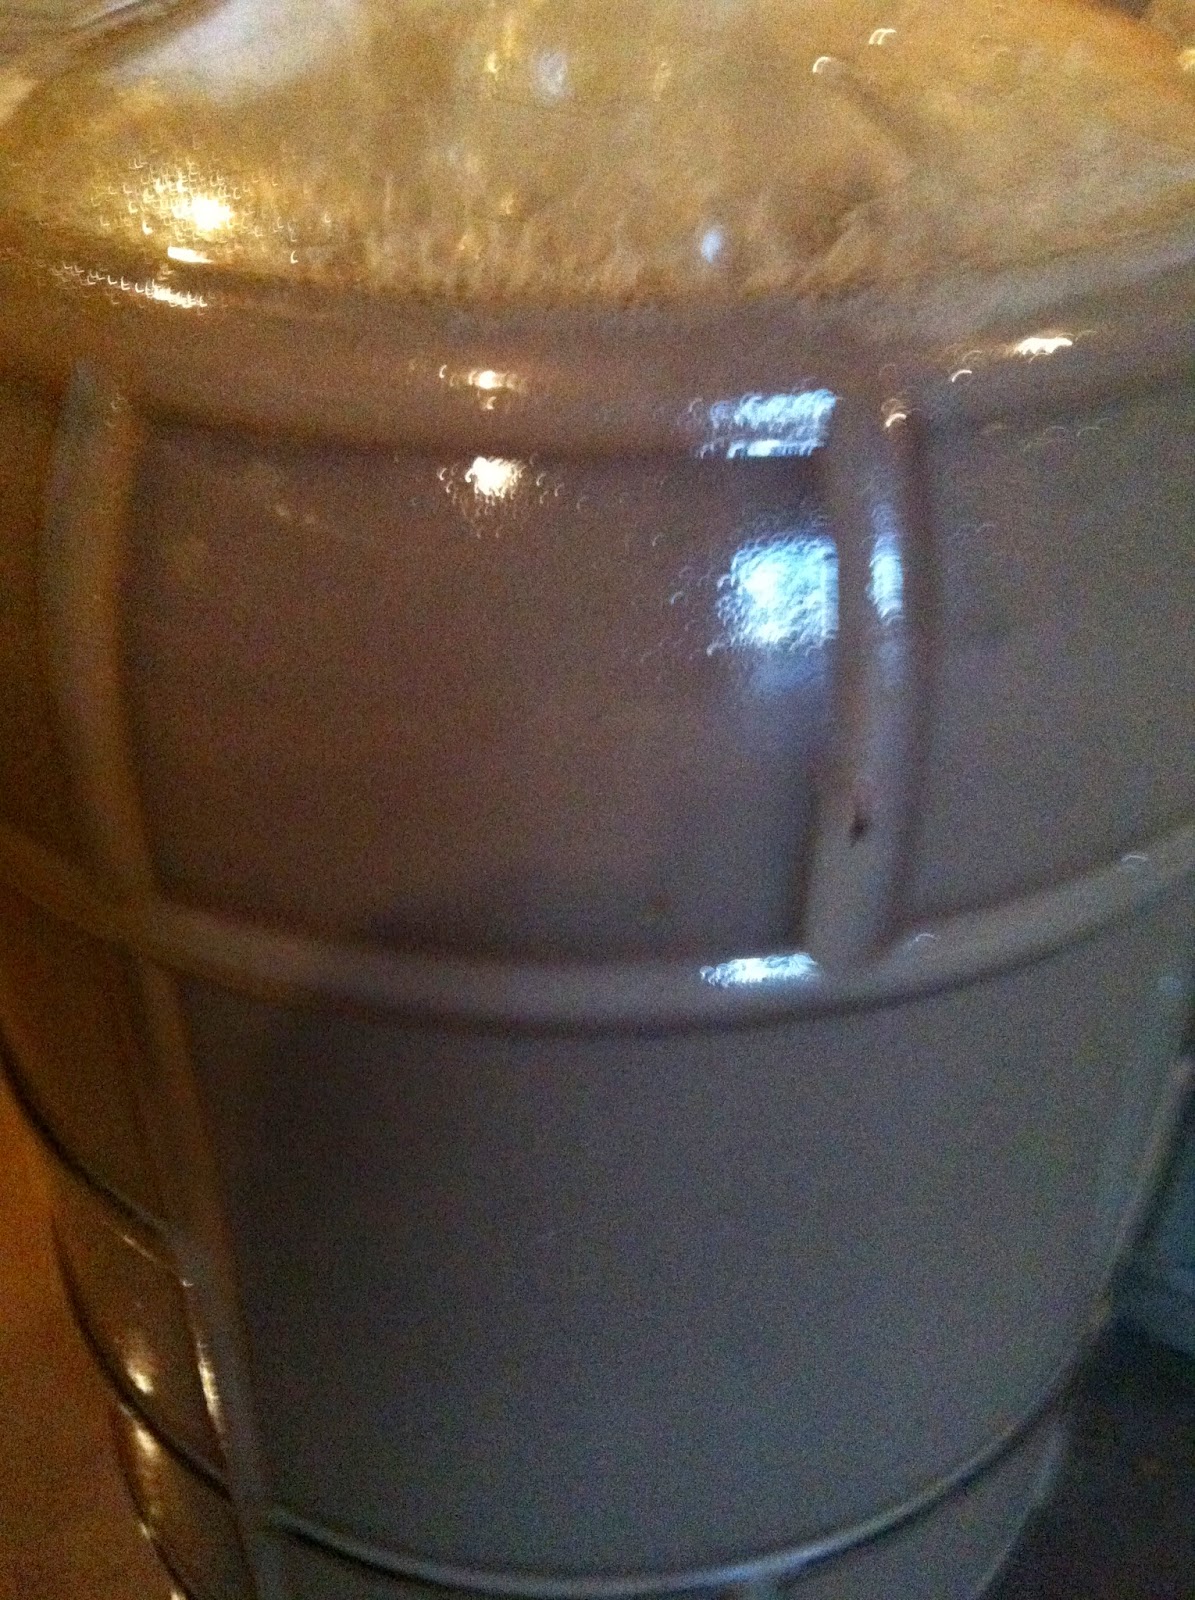
After treating the juice with SO2 and adding Pectinase, we covered the barrel and let the juice sit overnight.  This should help with settling out impurities.  We also took a juice sample to test the pH, sugar level and TA (total acidity).

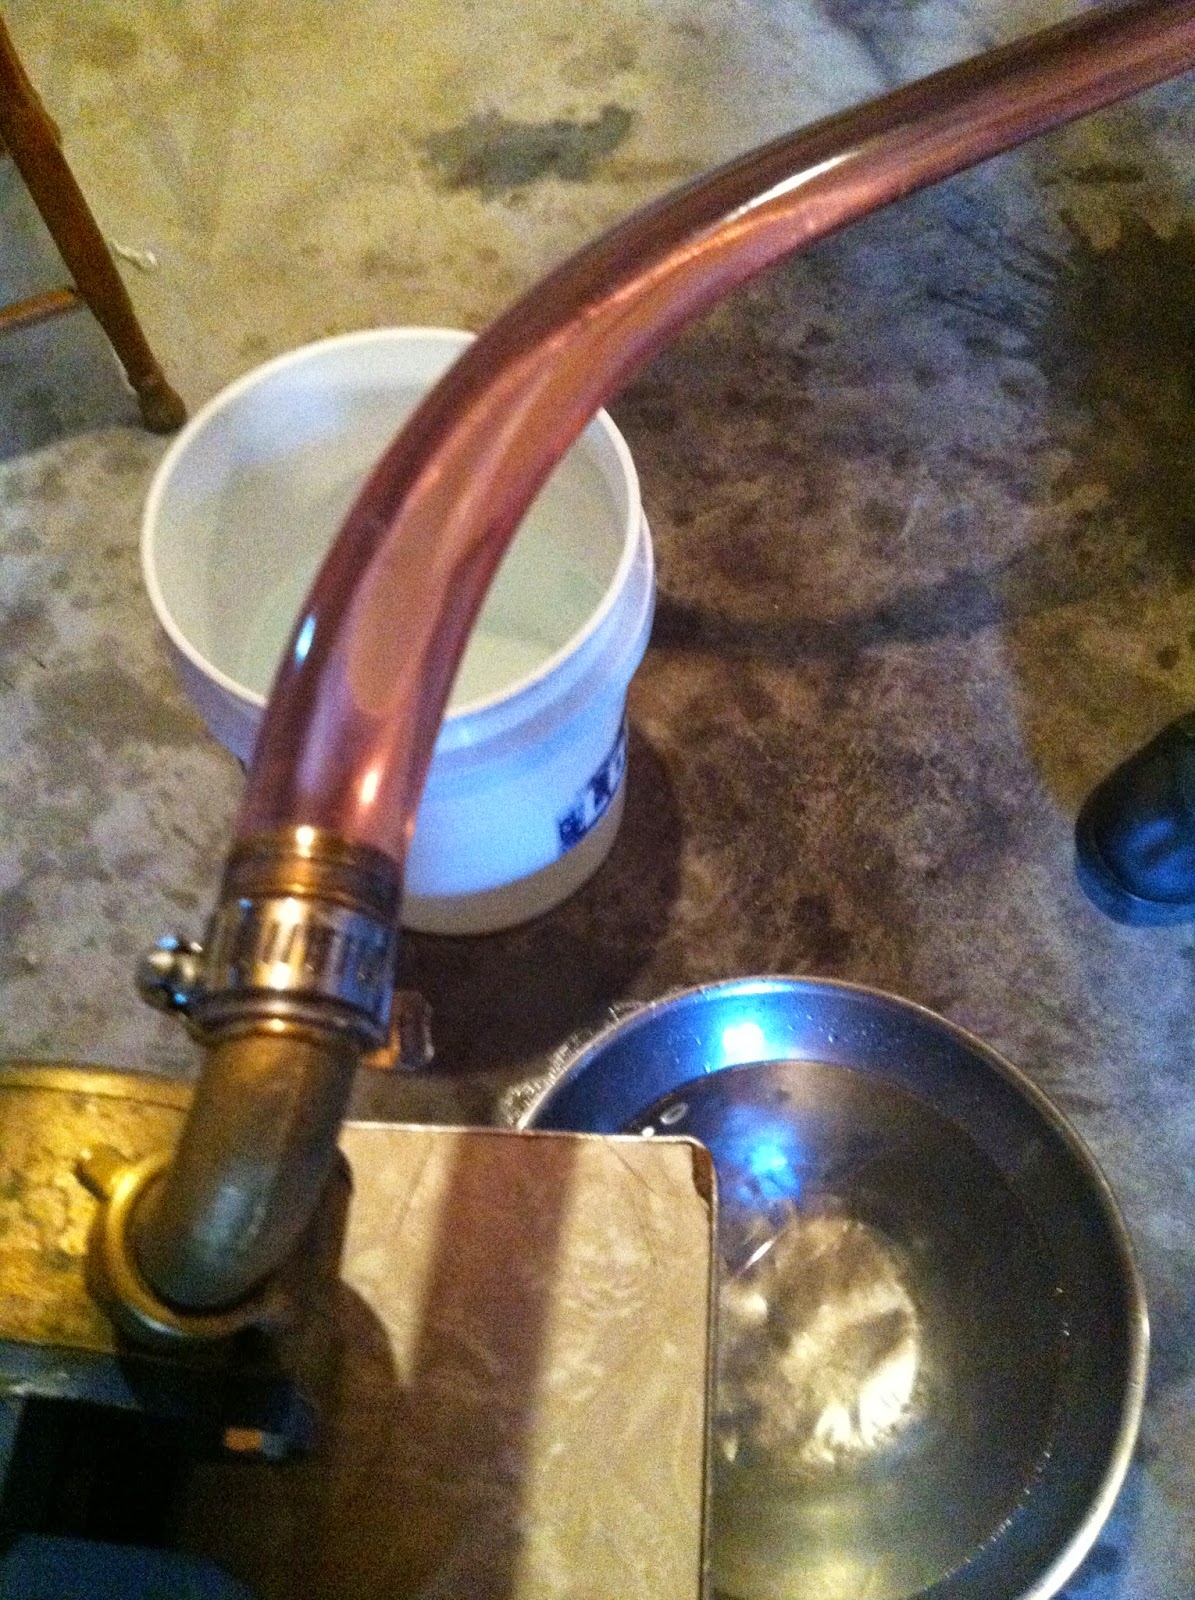
Today we racked the clear  juice into a new barrel – you can see the rose colored juice being pumped through a clear hose in the left picture.  There was a surprising amount of “sludge” left near the bottom of the barrel, nearly 5 gallons.  We racked the sludge into two small carboys to see if it would clear anymore (I just don’t see how it could).

We did the same with the 7 gallons of pressed juice, added the hydrated yeast to both containers and let the fermentation begin!

Harvest with Upgraded Grape Equipment

We harvested over 750 lbs of our Chambourcin grapes this morning to experiment with making rosé wine.  This relatively small harvest served a double purpose:  to try and make rosé, and to make sure our new (used) grape processing equipment will work as we hope before be pick the bulk of the grapes later this month.
We got an early start, the fog had not even lifted, and it was still pleasantly cool.  First order of business:  remove the bird netting:


nice cluster!

We alternated picking and crushing/destemming, then dumping the   grapes into the press.  All this took five of us about two and a half     hours, plus another half hour for clean up.


The used crusher/destemmer we got earlier this summer worked surprisingly well.  Jeff had to rewire the barn in order to get a 220 V outlet, and a friend build us a stand for underneath the destemmer, which made it a lot more sturdy.  Yesterday we scrubbed everything again with soapy water, then power-washed it prior to using it today.  Here is a video showing how it worked:

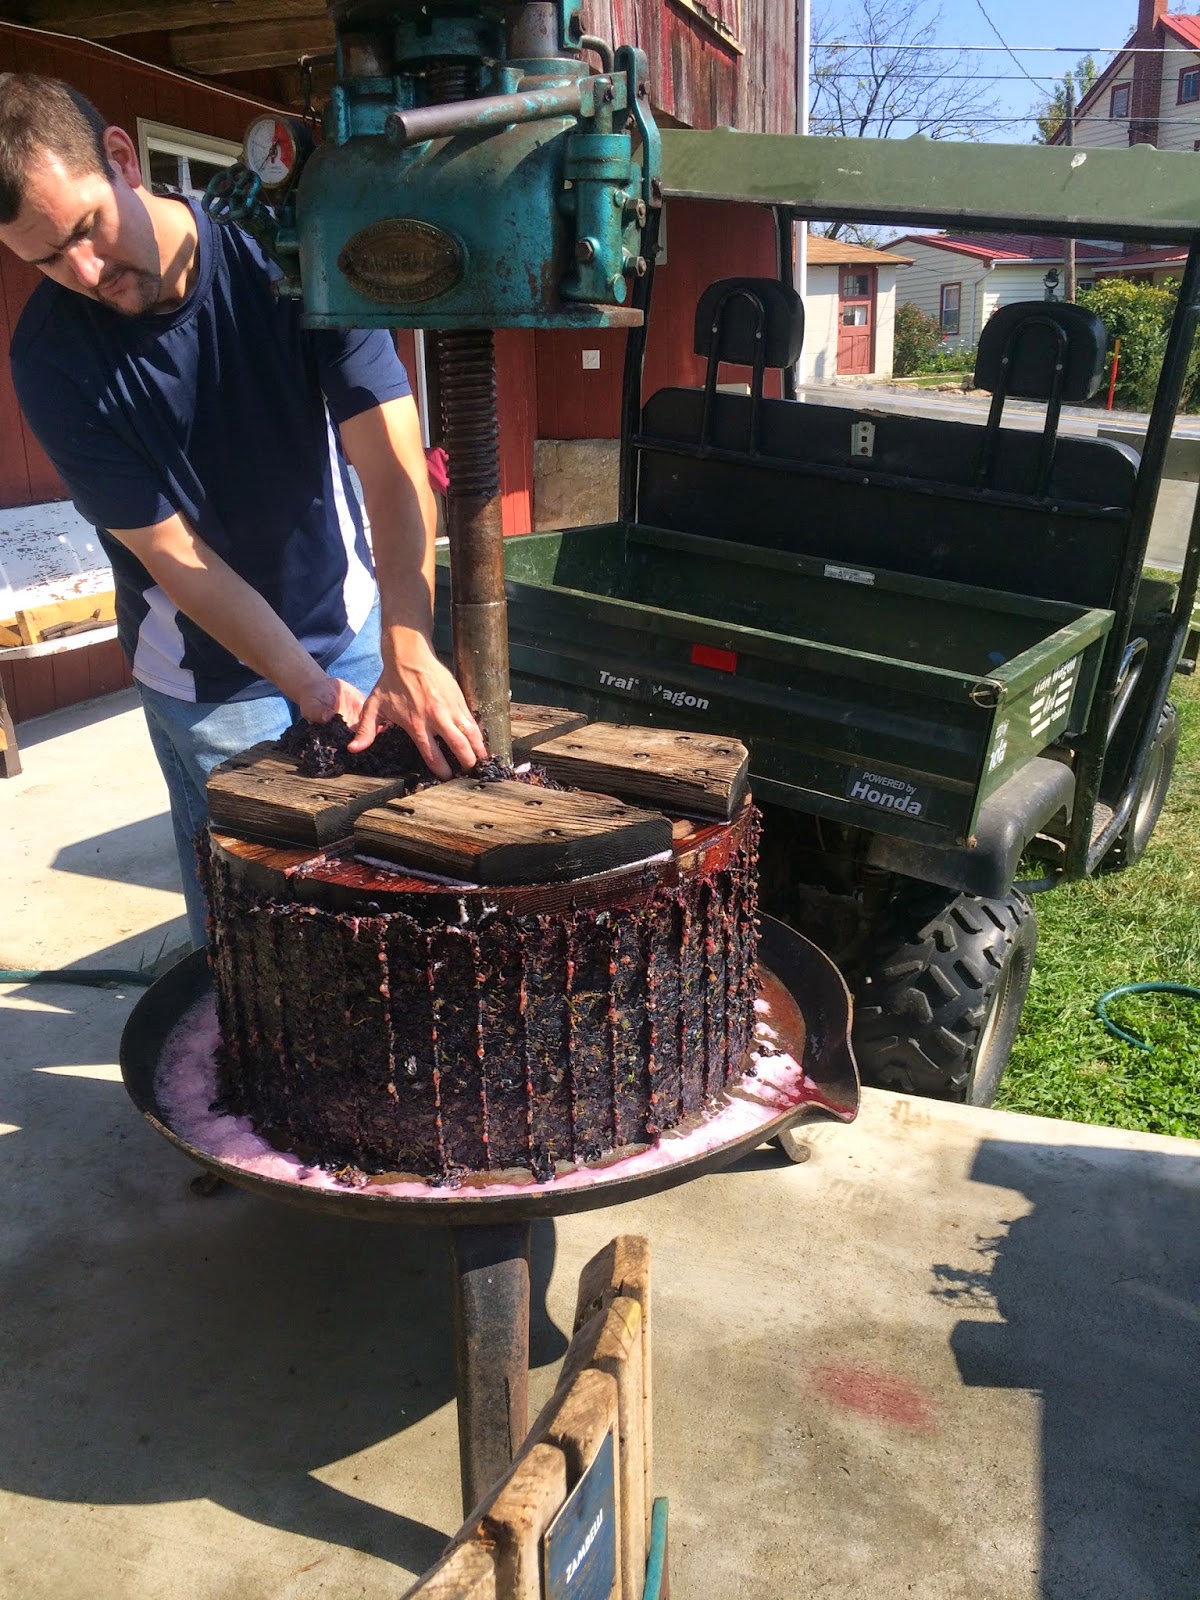
We then dumped the crushed grapes into the press, and collected the free run juice first.  This will be the juice we use for the rosé wine.  We then pressed the grapes and collected the pressed juice for a separate batch of wine.  

Meet our Basket Press

Our latest equipment upgrade was a used “Zambelli” basket press with a capacity significantly larger than anything we had ever used before.

We actually found this on Craigslist – in Maryland (and pulled it on a trailer across the Bay Bridge).

Not only does this press have larger capacity, it also comes with a hydraulic mechanism, making it a manual hydraulic press.  And it has a pressure gauge!

The basket itself is so large that it can be taken apart into two sections, which is handy for cleaning, but even handier for removing the pomace after pressing is done.

We have to move the press with the tractor though, it is much too heavy for any of us.

Crushed and destemmed grapes are
dumped into the basket
Grapes are pressed and juice runs out

When the pressing is done, the basket pieces can be removed and the pomace is exposed, which can then easily be removed with a pitch fork and carted to the compost pile.

Experimenting with Acid Adjustment in Wine

We tested our 2013 Chambourcin and found that the pH level was a bit on the high side – high enough to consider adjusting the acid content just a bit to ensure the wine is balanced and remains stable once we bottle it.

We tried different amounts of acid, as well as different types of acid, including tartaric, citric and a commercially available “acid blend”.   Jars with different tasting wine have been sitting around our kitchen all weekend, and we kept taste-testing and measuring the pH levels.  Nothing much changed in the readings after the first couple of hours.

No matter how often we taste-tested,  our  preference was always for the wine with the added tartaric acid  (which is one of the main acids in wine anyhow).  So that will be the added acid of choice.

We are hoping that this will give out wine more balance, without adding any sharpness.  Tina had some of the tartaric acid jar-wine with dinner and it was rather good!

More Wine Chemistry

Another three day Wine Chemistry & Microbiology lab weekend just ended.  We had even more “hands-on” experiment time, using and comparing different methods to analyze various wine components.  From conductivity tests to check for cold stabilization, to ripper titrations for measuring levels of SO2, we were busy the entire time.

This morning we worked with microscopes and learned how to identify different strains of yeasts as well as spoilage organisms.  So now we have another item for our winery wish list:  a decent microscope (which would be right after the ebulliometer)!

By the way,  our chromatograms for checking on malolactic fermentation progress turned out a lot better than during our first attempts: