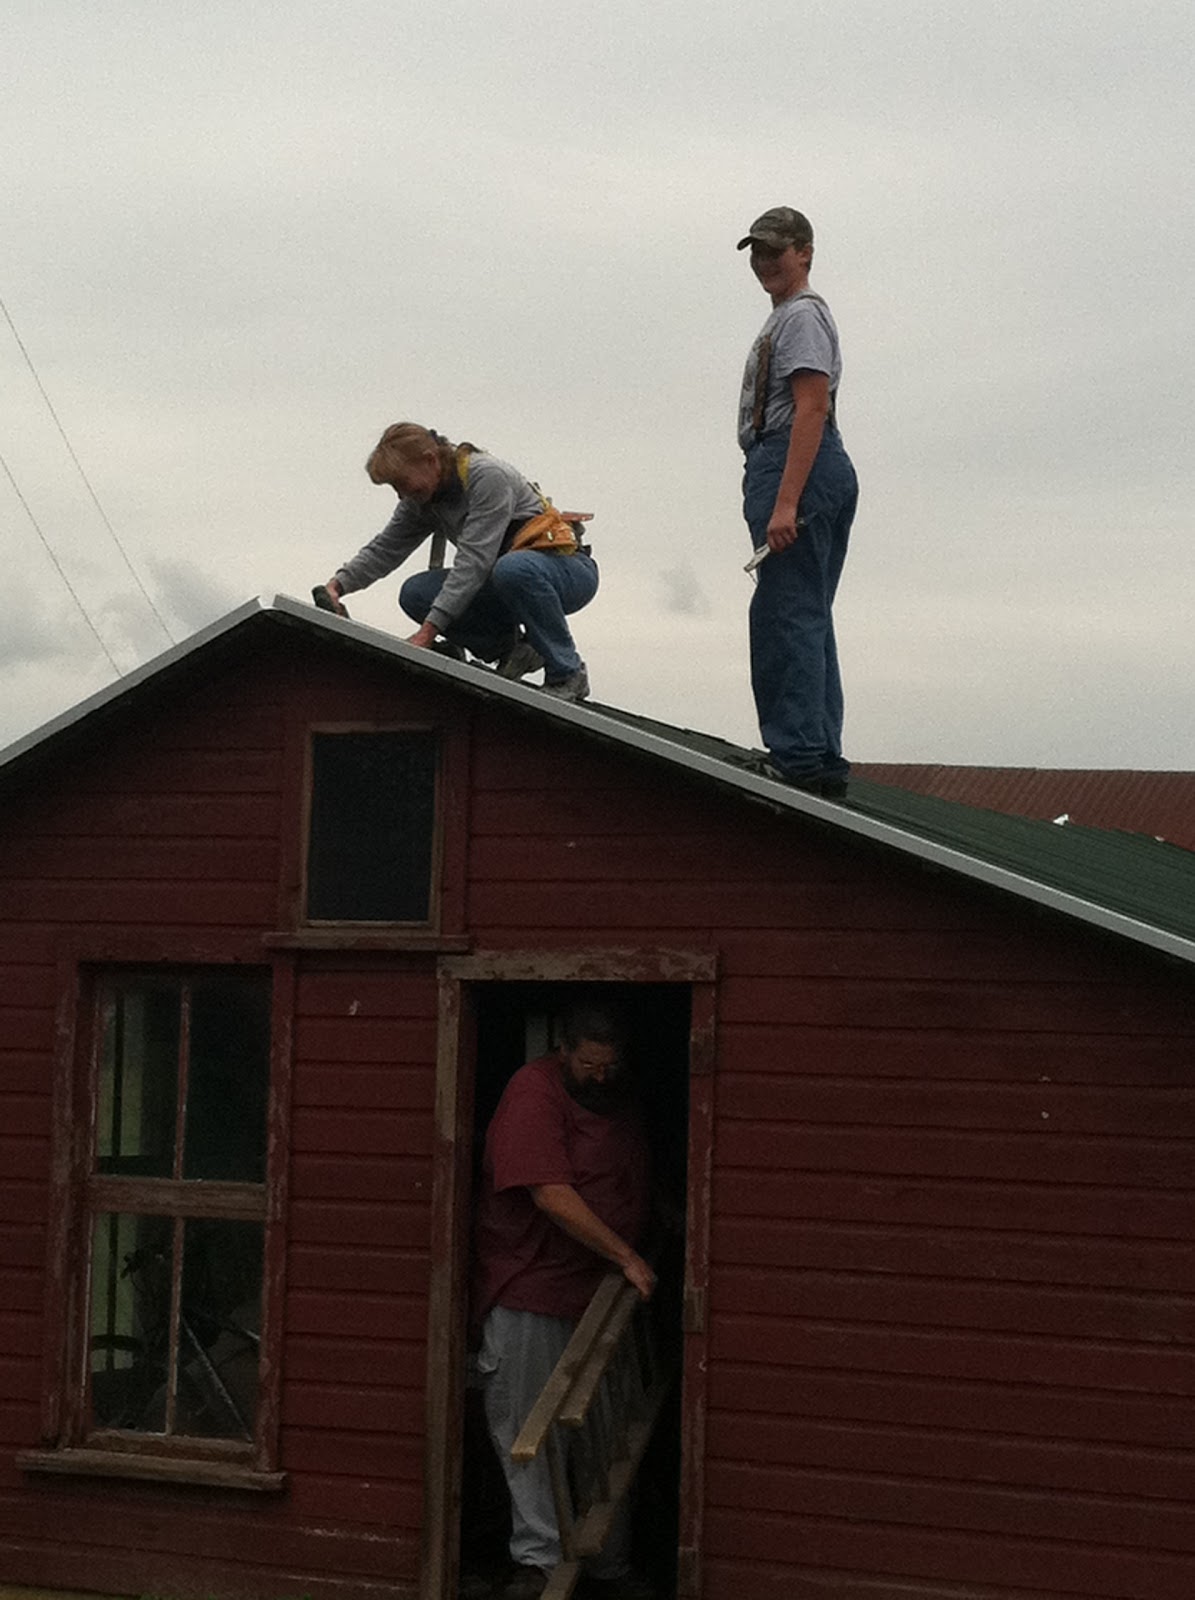
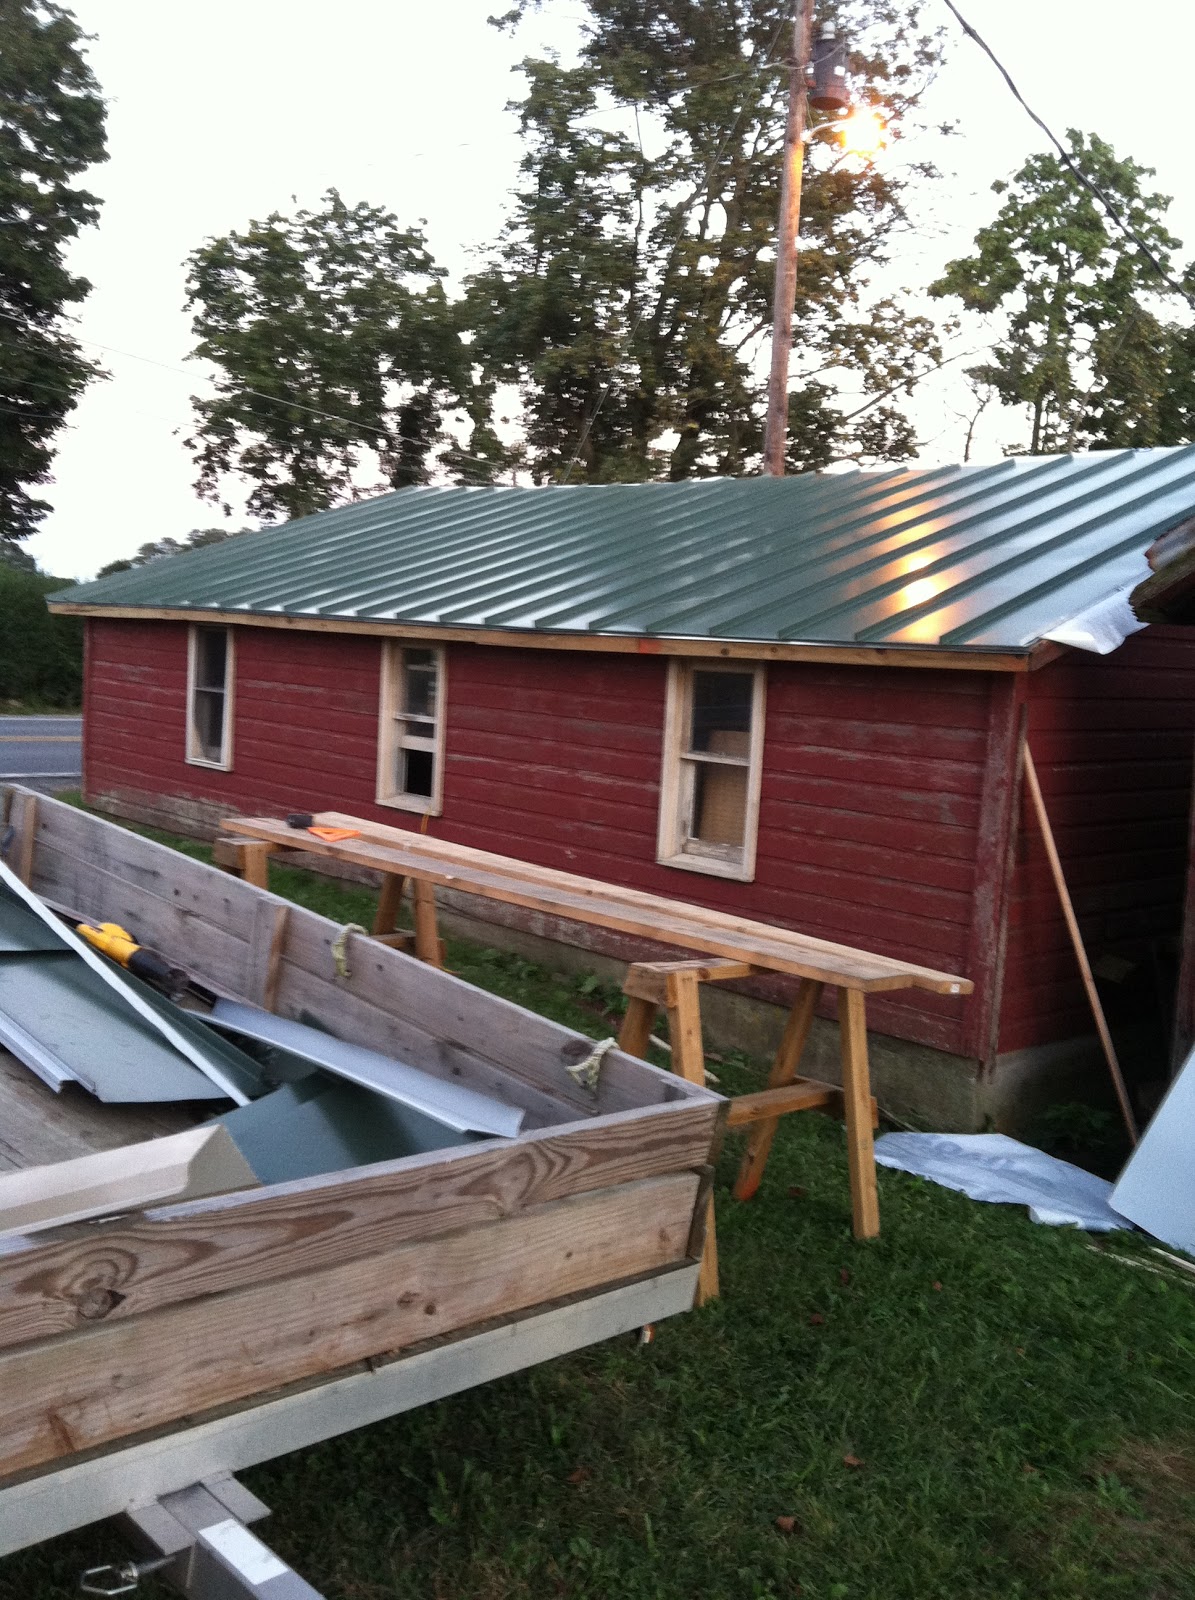
Despite the weather forecast, we did not get any rain until late on Sunday afternoon, so we were able to work more on our shed roof. Over the last 2 weeks, we finished putting up the long roof pieces on both sides, so now we were ready for the finish trim and the roof cap. This turned out to be more time consuming than the big pieces. We worked on Saturday for a few hours, and then again on Sunday (it got a lot colder and we had to take a break just to warm up again).
Attaching brackets for roof cap
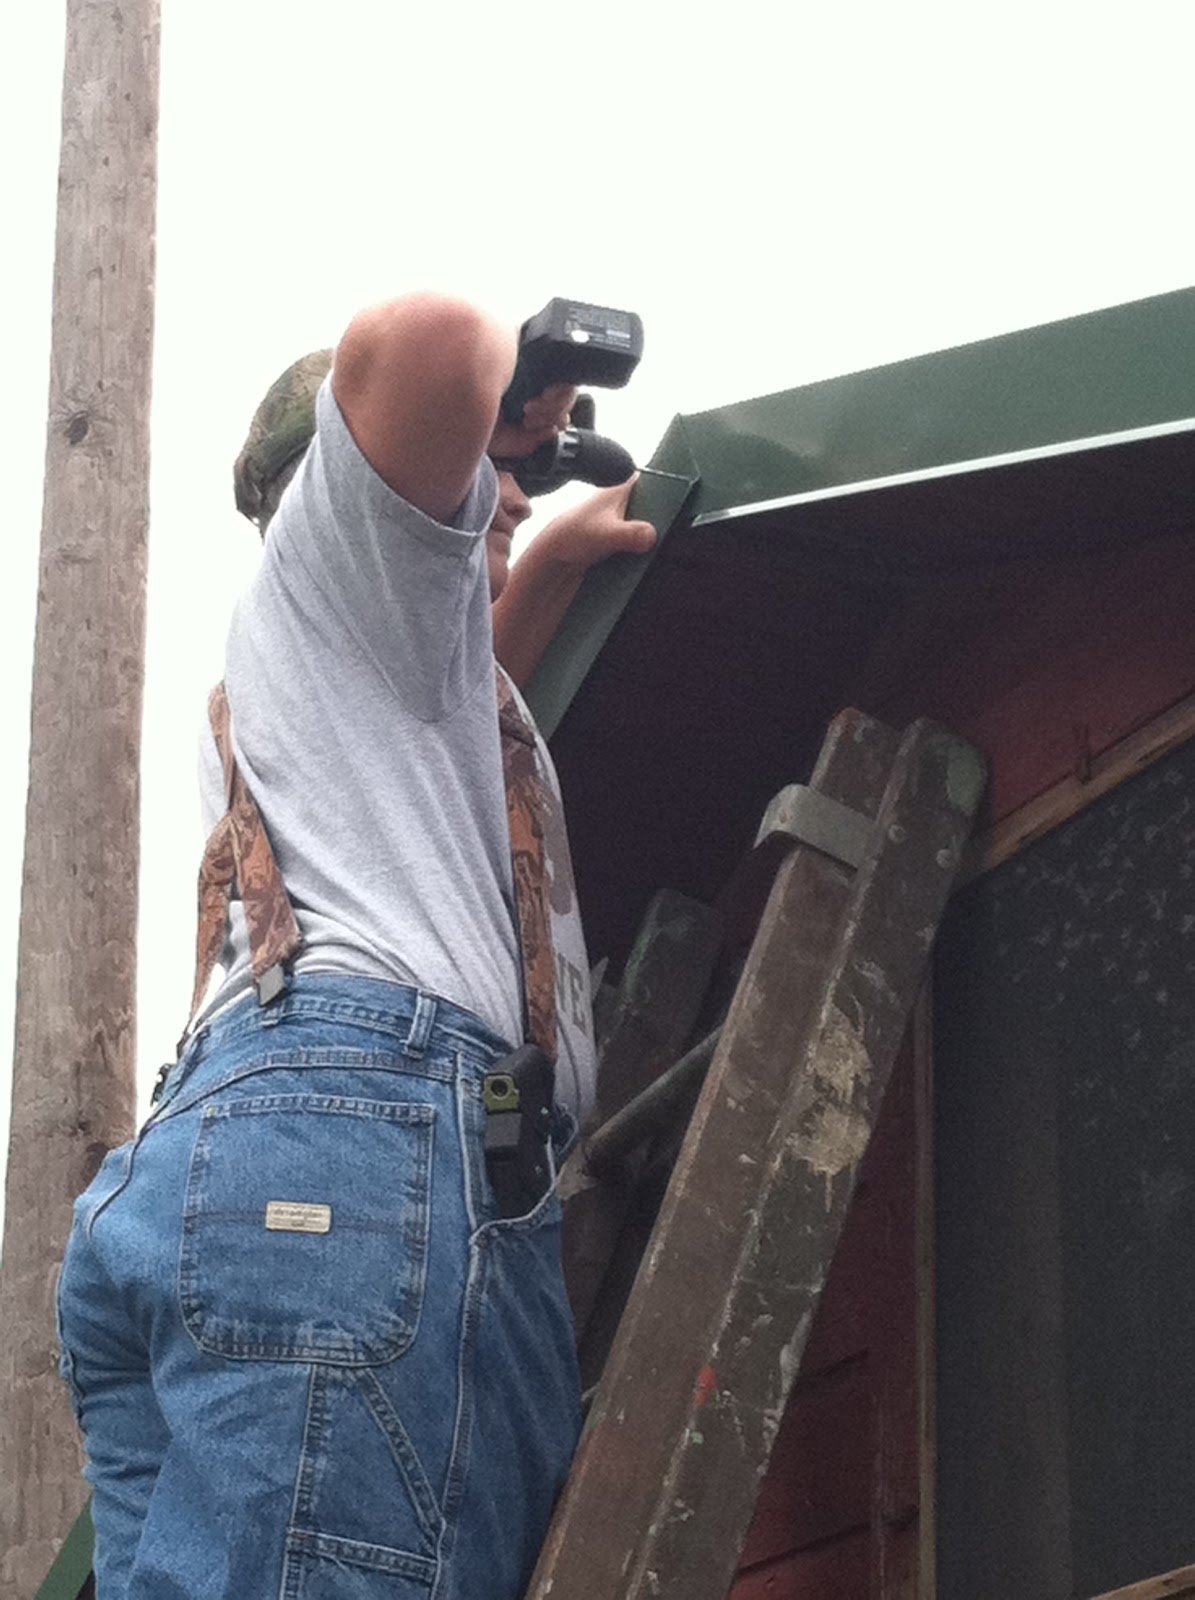
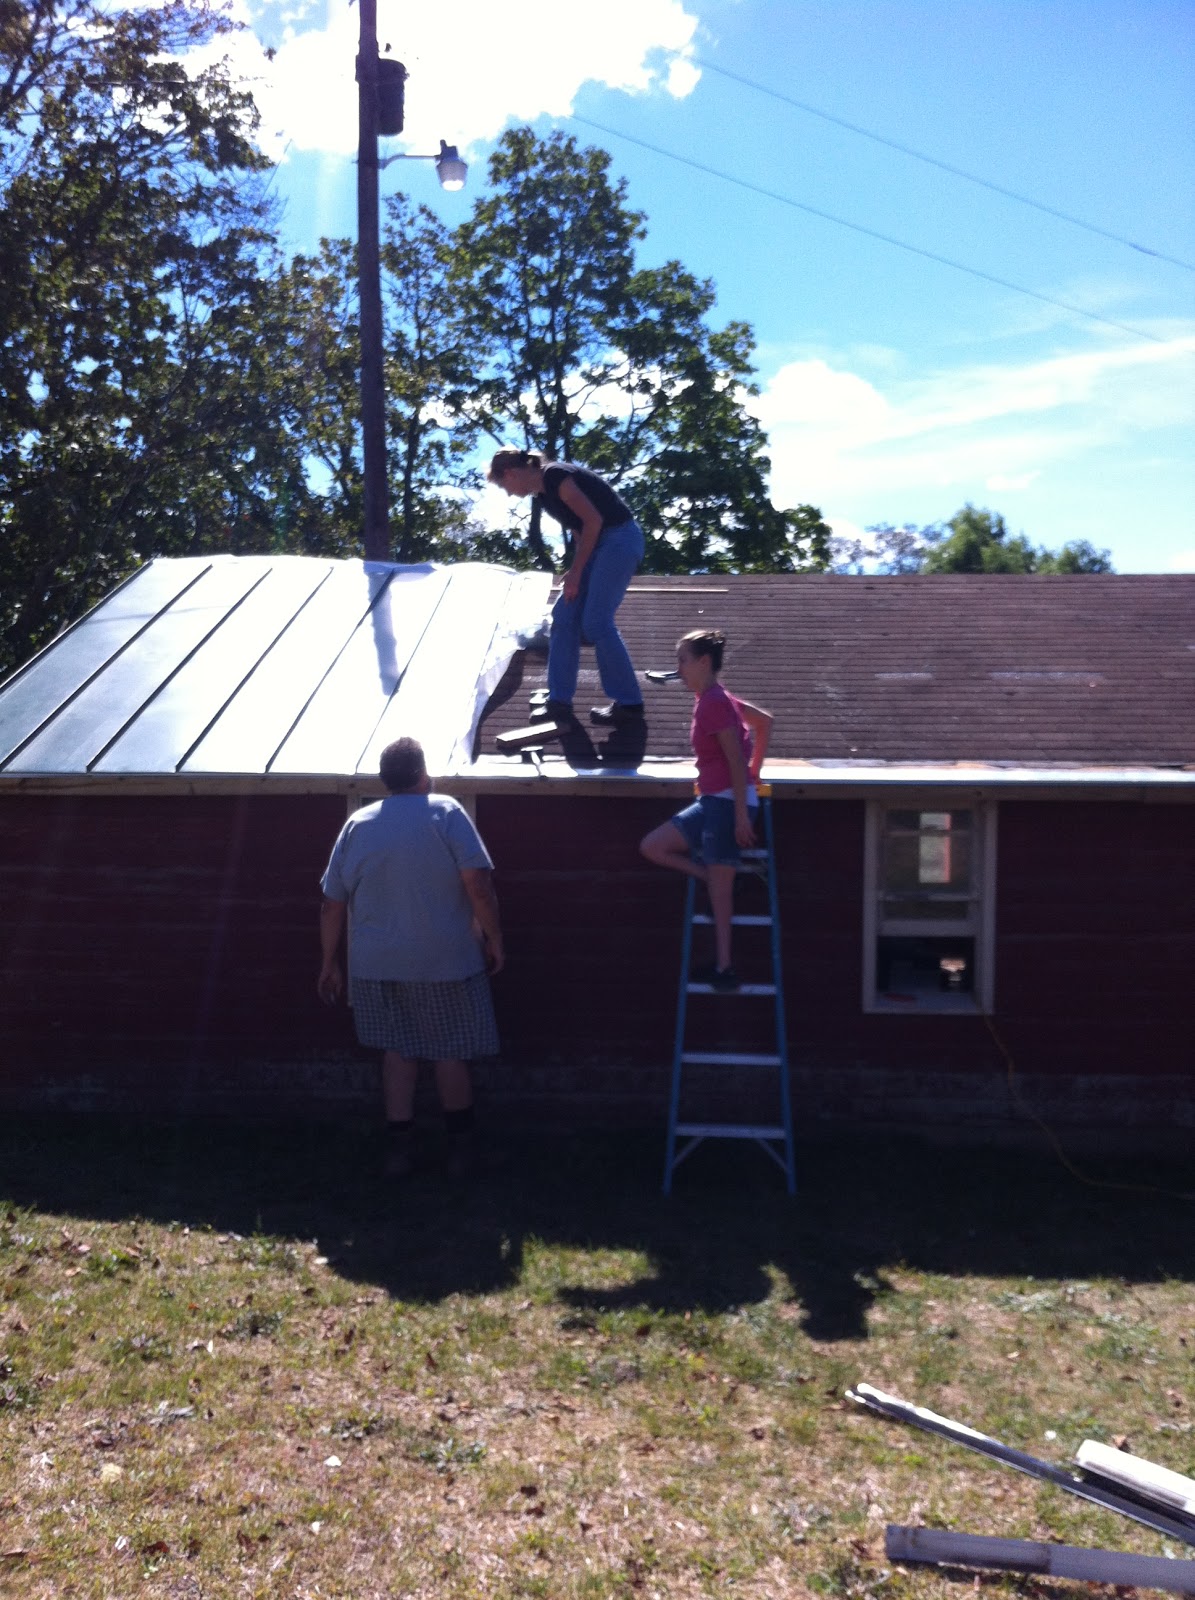
Individual brackets had to be screwed onto the top of each of the 44 roof pieces – to attach the cap to. Jeff had been cutting and trimming these throughout the week and he pre-drilled each pieces with 3 holes.
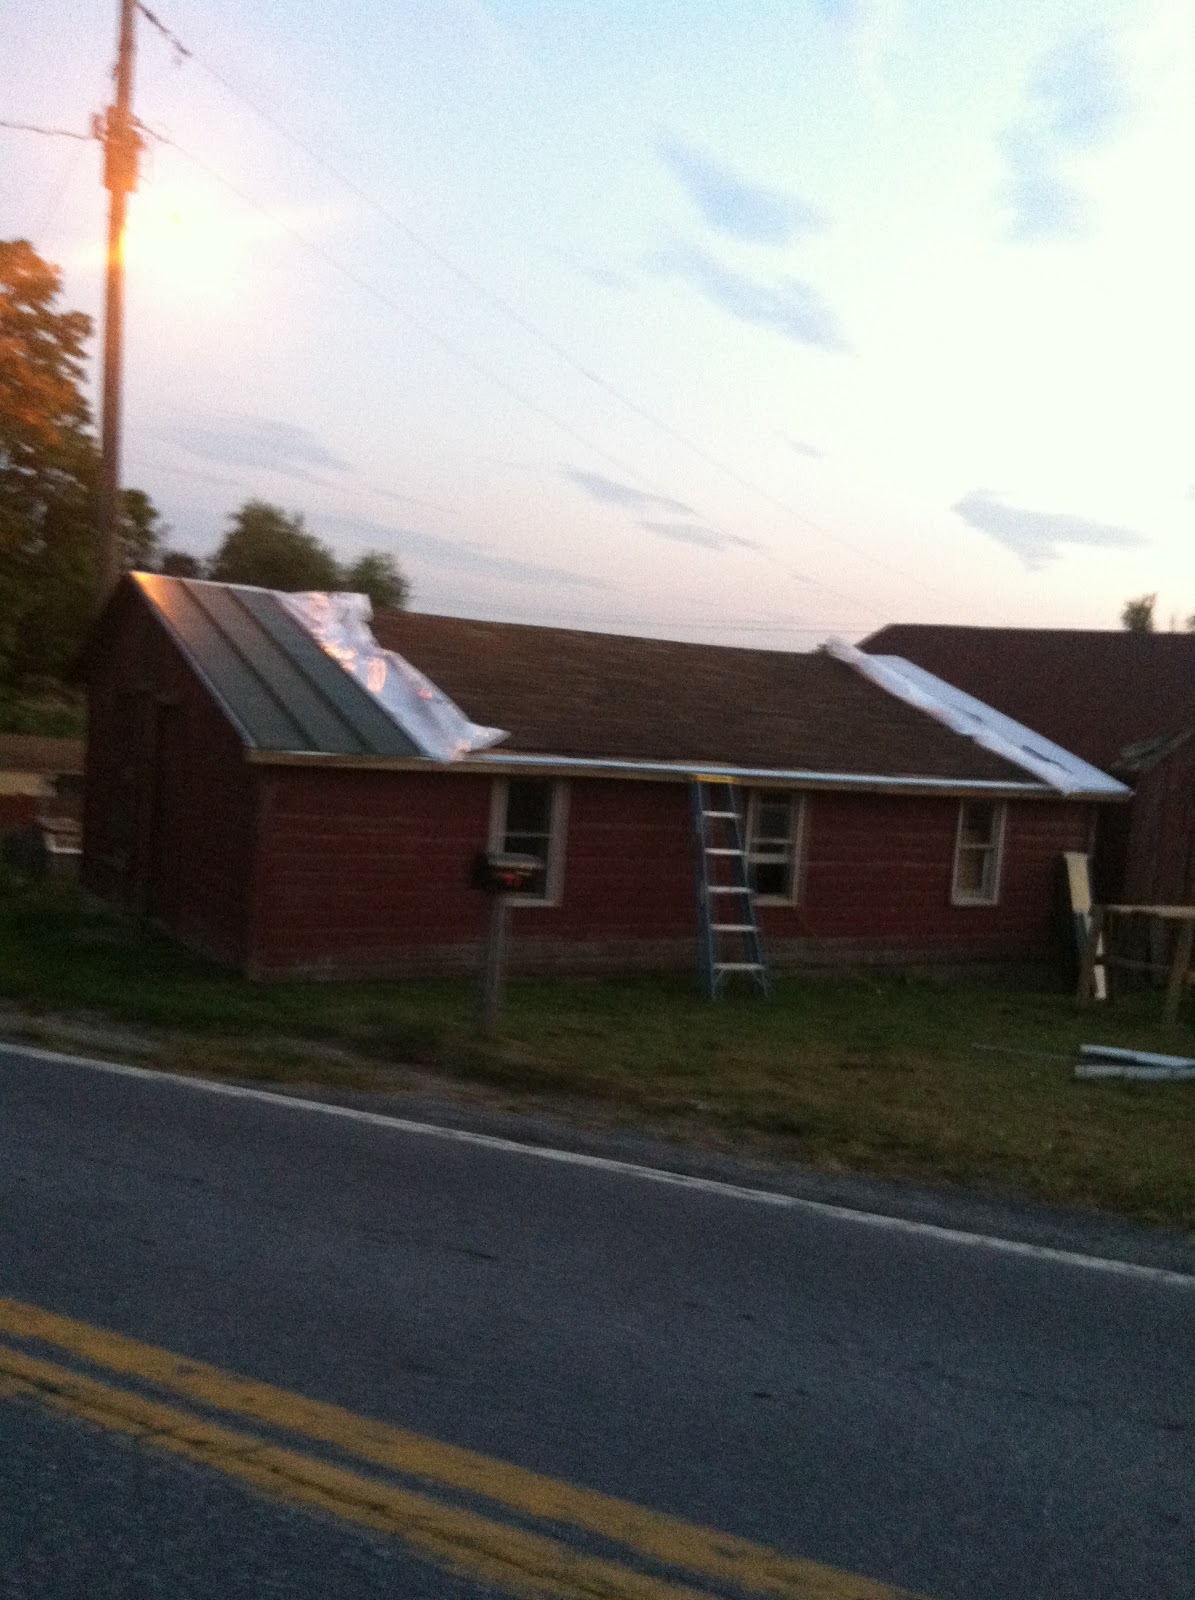
Two pieces of specially formed metal had to be screwed along the angles edges, forming the front trim – the bottom piece had to screwed on, the top piece got pop-riveted. We were able to finish the road side trim up along both edges, and attached the first section of the roof cap before it started raining.
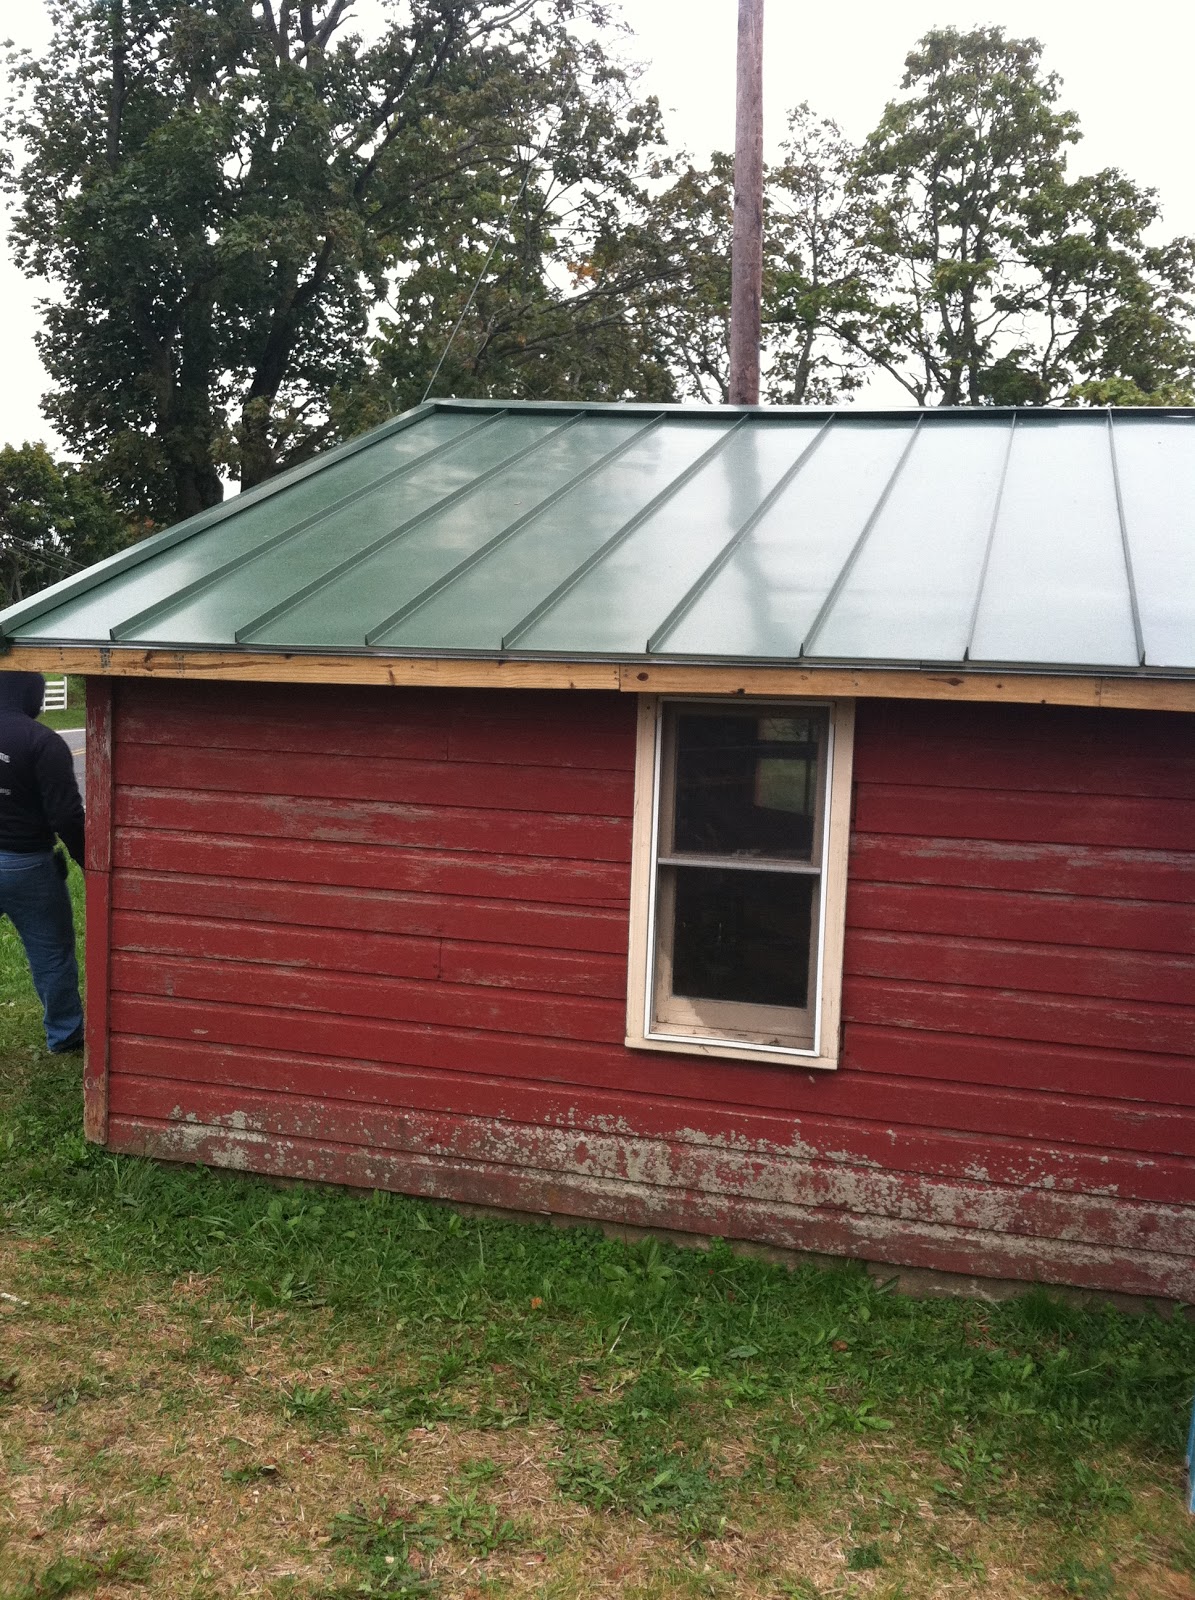
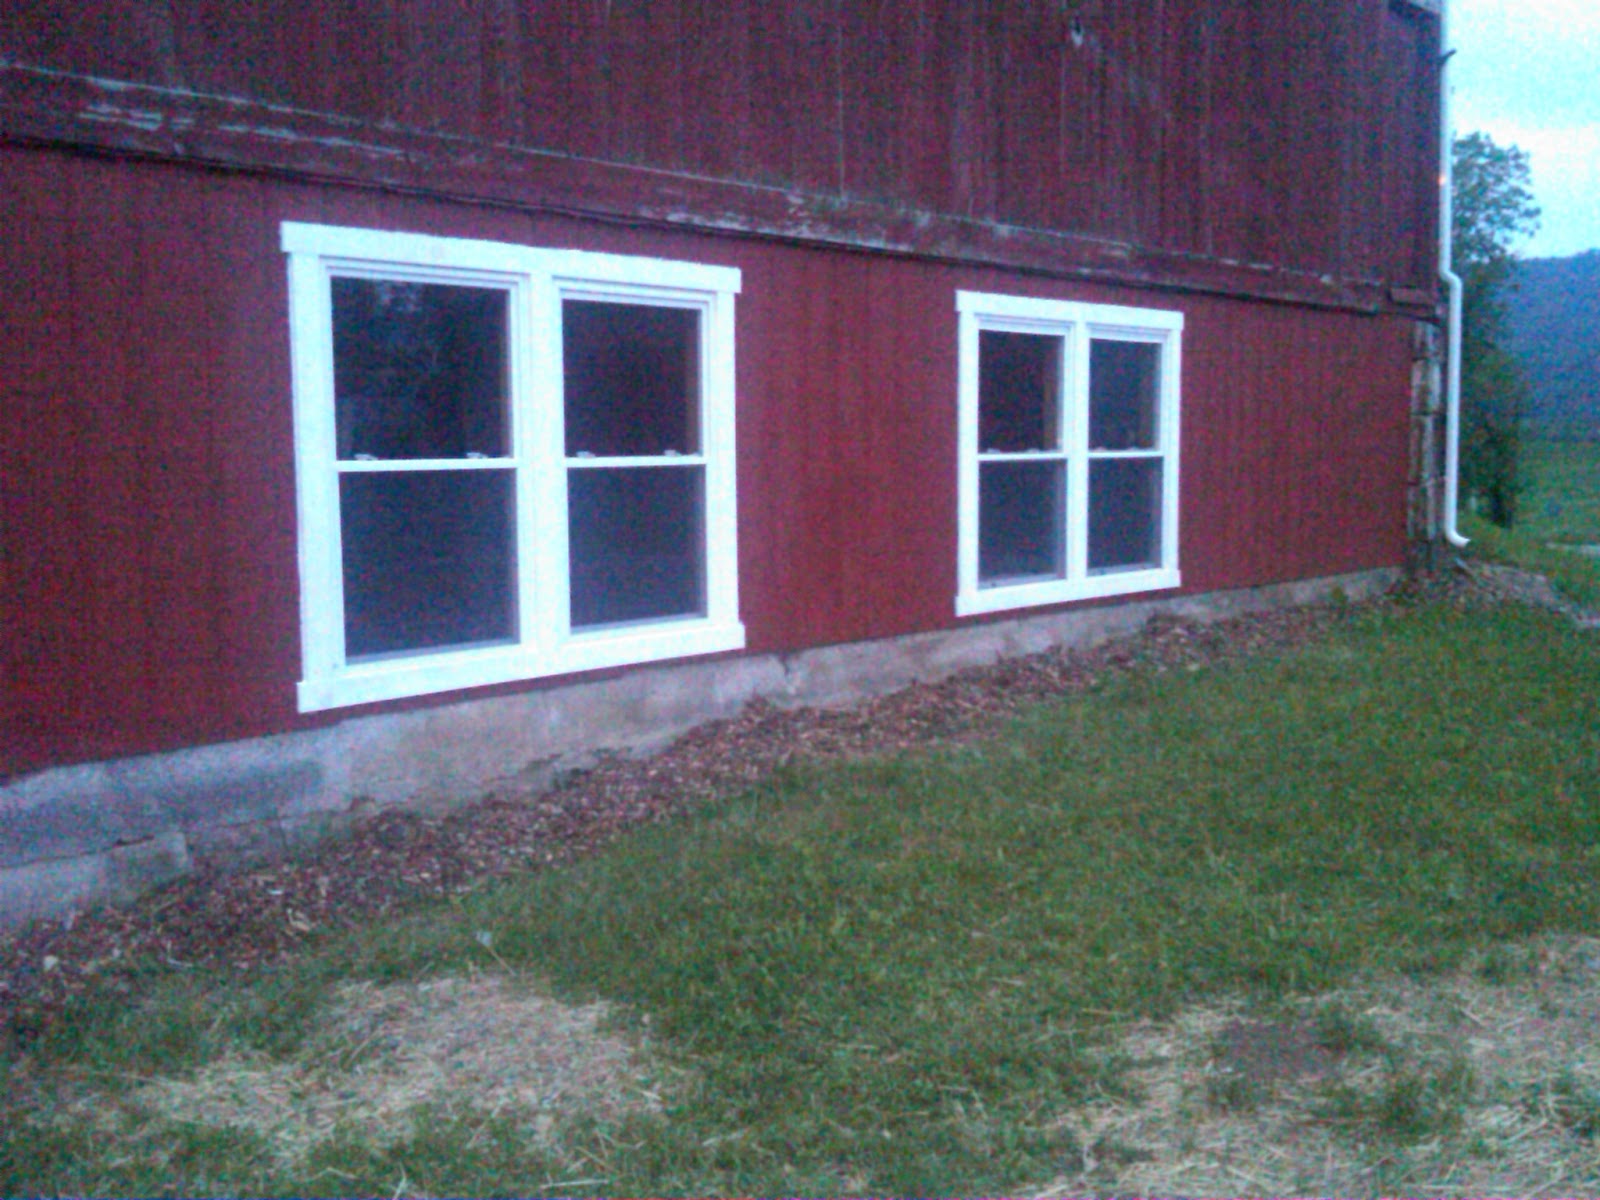
We have been planning what to do with our “shed” across the street since the day we moved to the Long Shot Farm. This building has a great cemented foundation, relatively decent windows and the entire building was at one time insulated. However, the roof had been home to a significant holiday display each winter, including Santa, a sleigh and reindeer – permanent metal railings had even been installed on the roof to anchor this contraption. Sadly, these decorations caused the roof to sag in the middle – which meant that fixing up the shed is a much more complex project that first hoped…so we had to put if off a while.
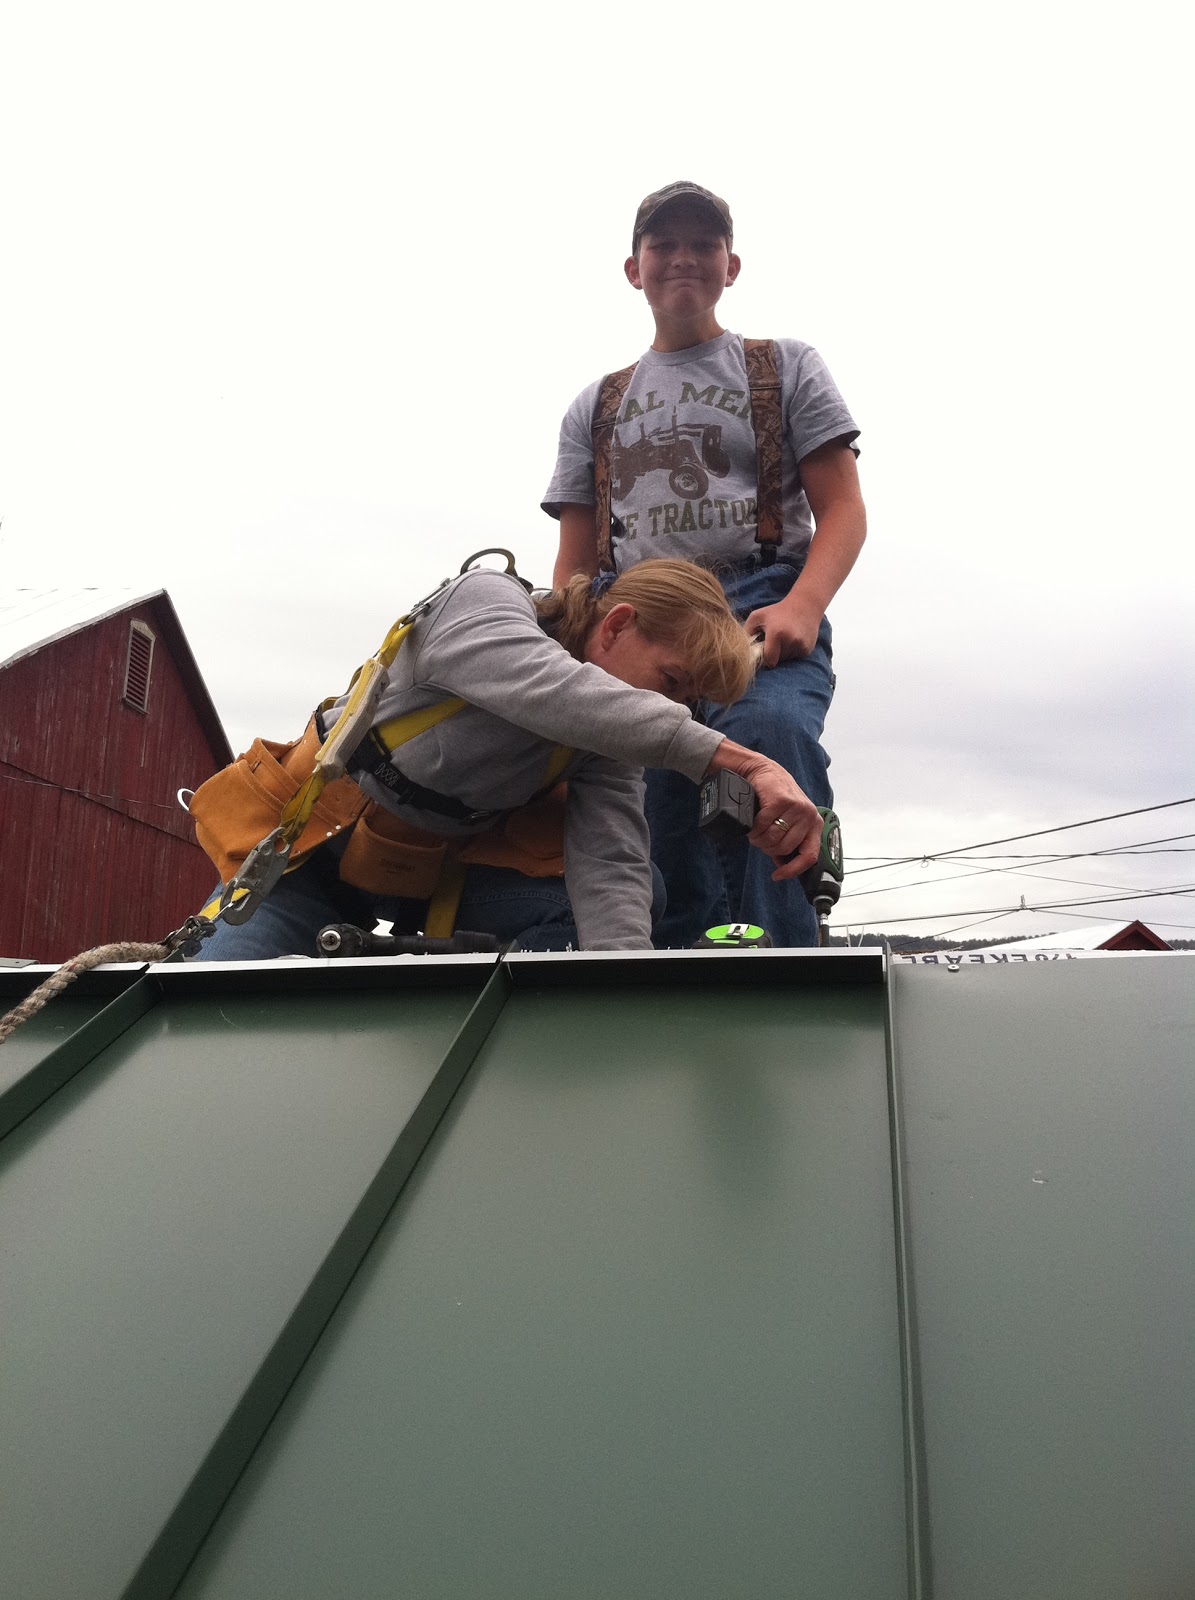
Jeff and Tina started on Friday afternoon
Luckily, earlier this year we were able to purchase a very nice standing seam metal roofing system from a contractor friend at a very reasonable price. But with the fruit and garden, we just had very little time to devote to the project. We worked on it off and on – emptying the shed, tearing out all the inside boards and removing the old insulation. We also reinforced to roof from below, by first using metal chains to “pull” the building together, and then installing additional joists.
Progress by Friday evening
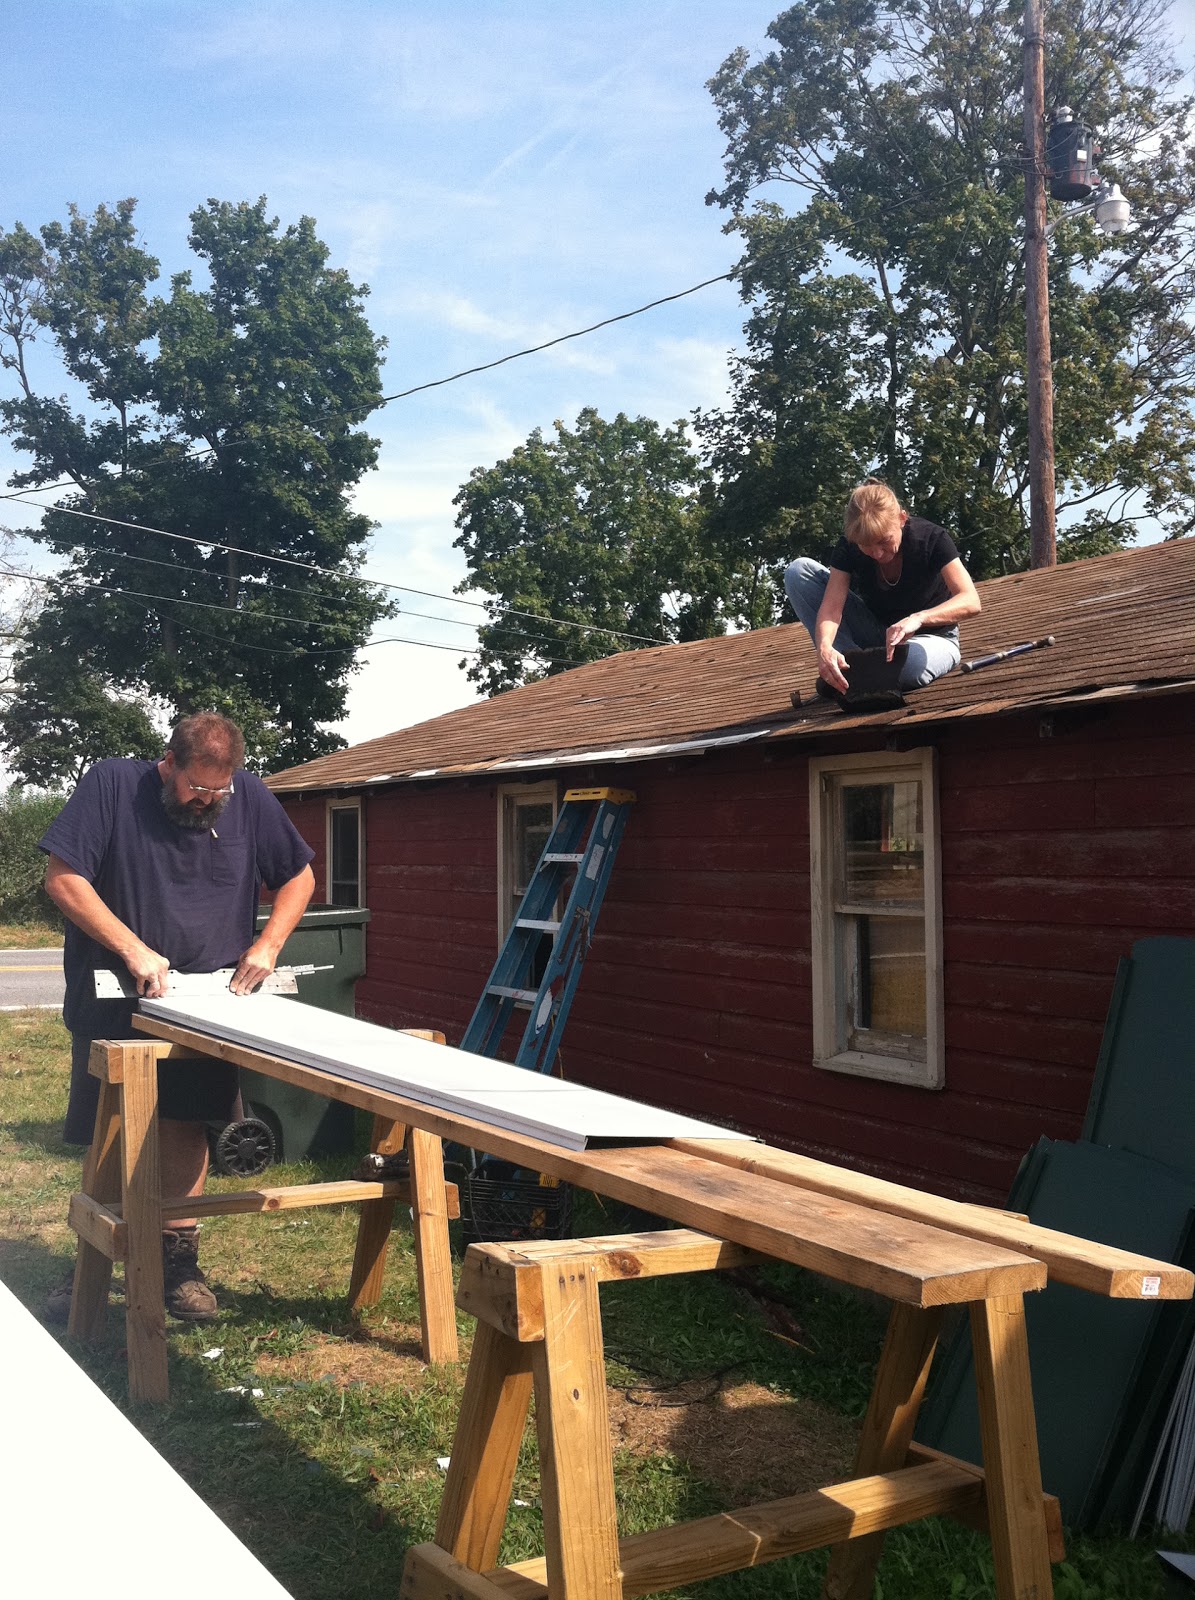
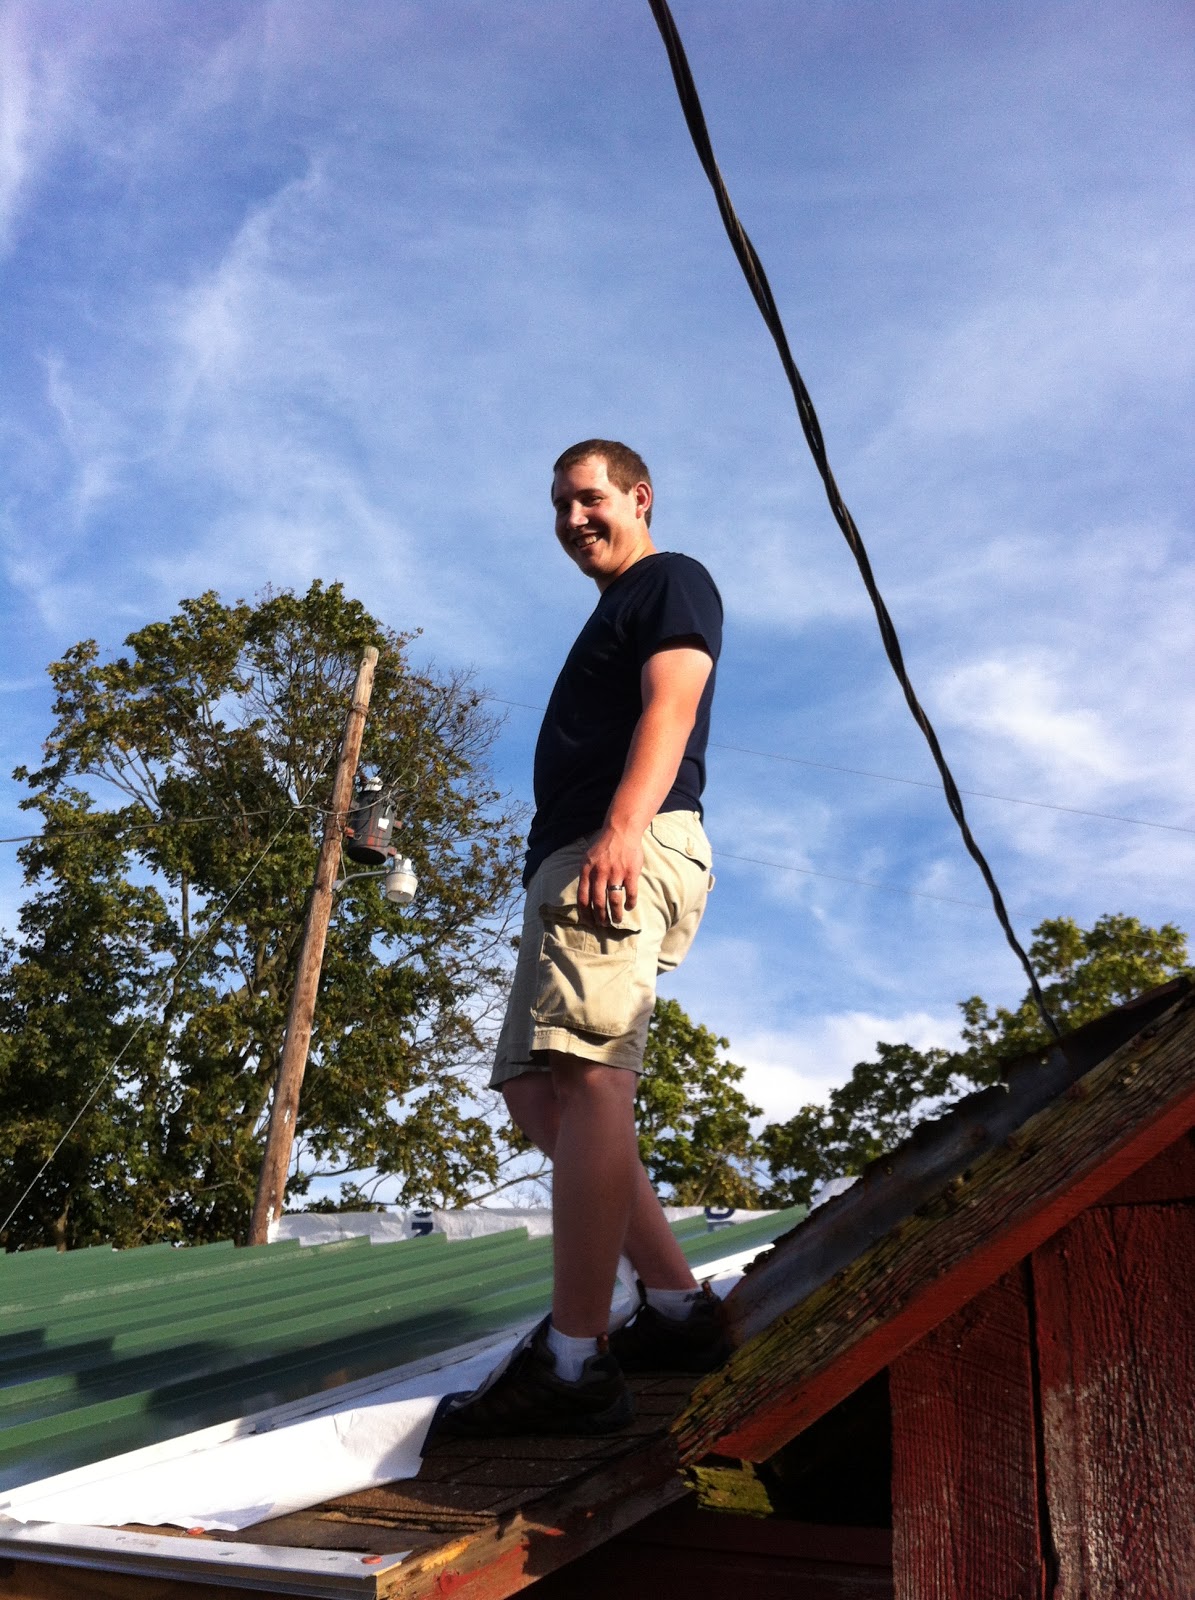
For the last week or so, Jeff has been cutting the pieces of roofing panels to the correct size – we need 22 pieces of each side of the roof. This weekend we finally got to install some of it. Tina and Jeff started on Friday evening, tearing down the bottom row of the old asphalt shingles, and reinforcing the edge by attaching 2×4’s below the roof. We then installed the drip edge, which is part of the roofing system on both sides of the roof. The next step involved attaching sheets of house wrap on top of the old shingles, to protect the new metal roof from scratching – we did this with simple roofing nails. We actually attached only about 2 ft of the plastic sheeting, and kept the rest rolled up – since this sheeting is very slippery, and the asphalt shingles provided a lot of traction while working on the roof. Then we finally got to attached the first panel with the appropriate brackets, and then snapped the next panel onto it. We managed to get the first three panels up before it got too dark.
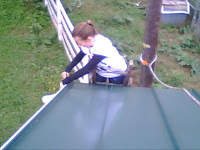
Jens and Zach were both around to lend a hand on Saturday, which speeded up the process a lot. Of course with the 3 boys around, there was also some goofing off….especially when it came to teasing Tina (who does not like to work on roofs)
We finished the first half of the roof by Saturday evening.
Finished first side by Saturday
Sunday was spent mostly playing with Toben and Fiona, and visiting with their parents, as well as with Grammy and Ruth from Bedford county.
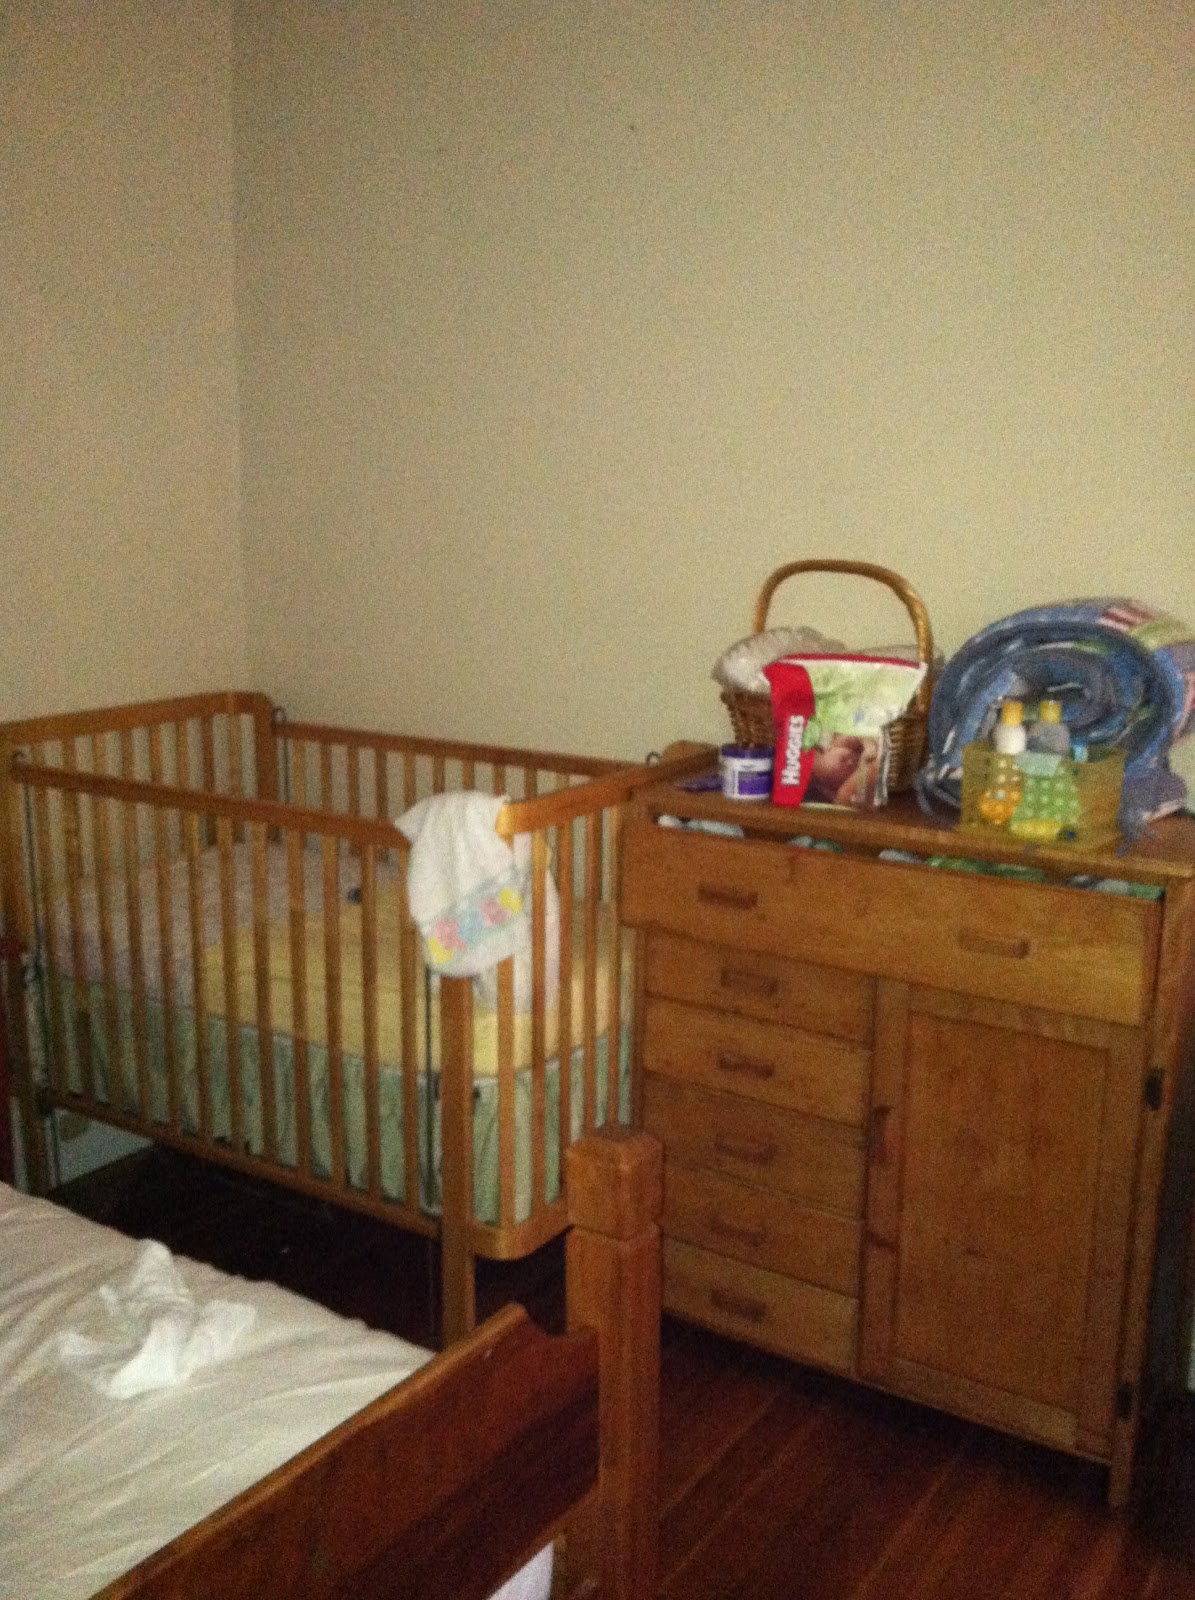
Part of getting ready to help Anja and Duff move to Boston was keeping a very old promise: to refinish our old baby bed and strip and finish a baby dresser. Somehow, in the middle of picking blackberries, I had forgotten that I was to do this – and was gently reminded to not forget to bring the baby bed and dresser along for the move. OOPS! With less than a week to go, Jeff disassembled the crib, sanded it down, reglued and reassembled the entire bed, so that Tina could apply several coats of polyurethane. At the same time, Tina stripped 3 layers of old paint and old stickers off a baby dresser which probably was made in the 40’s or 50’s (judging from the looks of the old stickers under the coats of paint). Both pieces of furniture got several coats of polyurethane. The last two coats were wet-sanded, meaning the polyurethane was applied with 400 grit sandpaper. We just had enough days – luckily the moving “party” arrived one day later than planned on the way from Pittsburgh to Boston – and both pieces made it onto the truck for delivery.
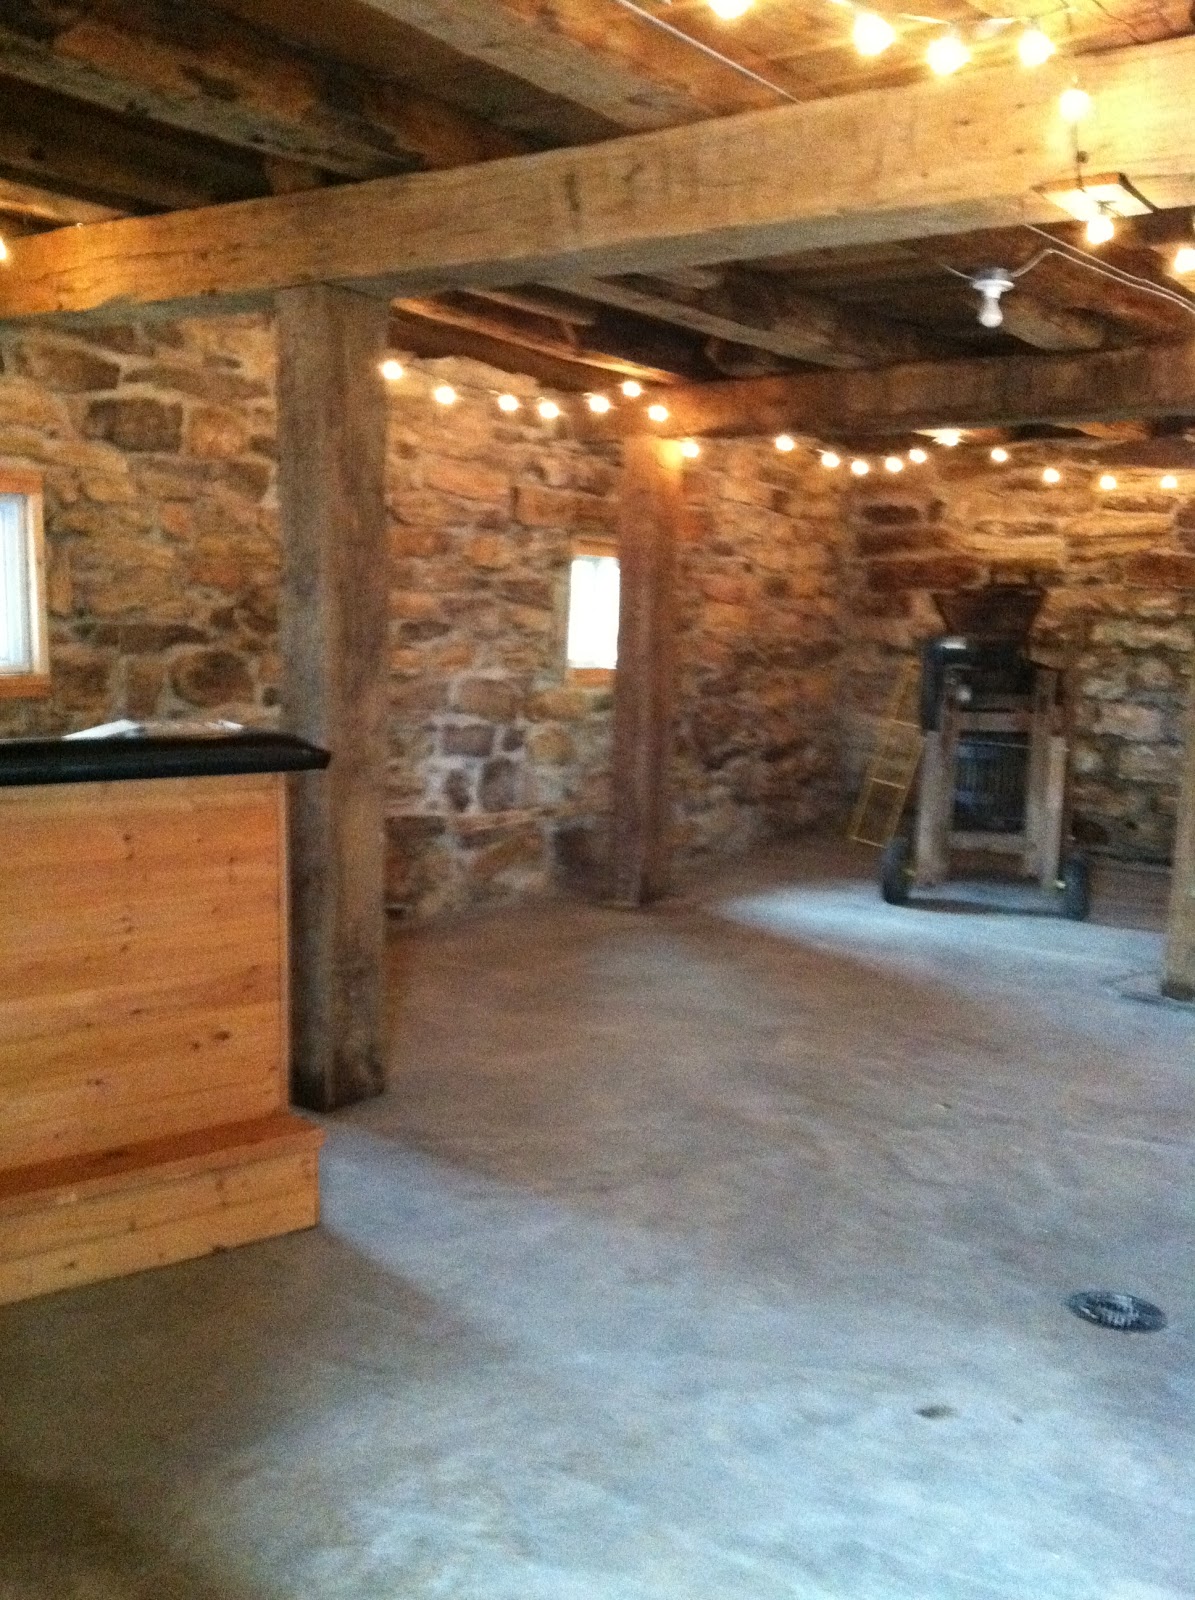
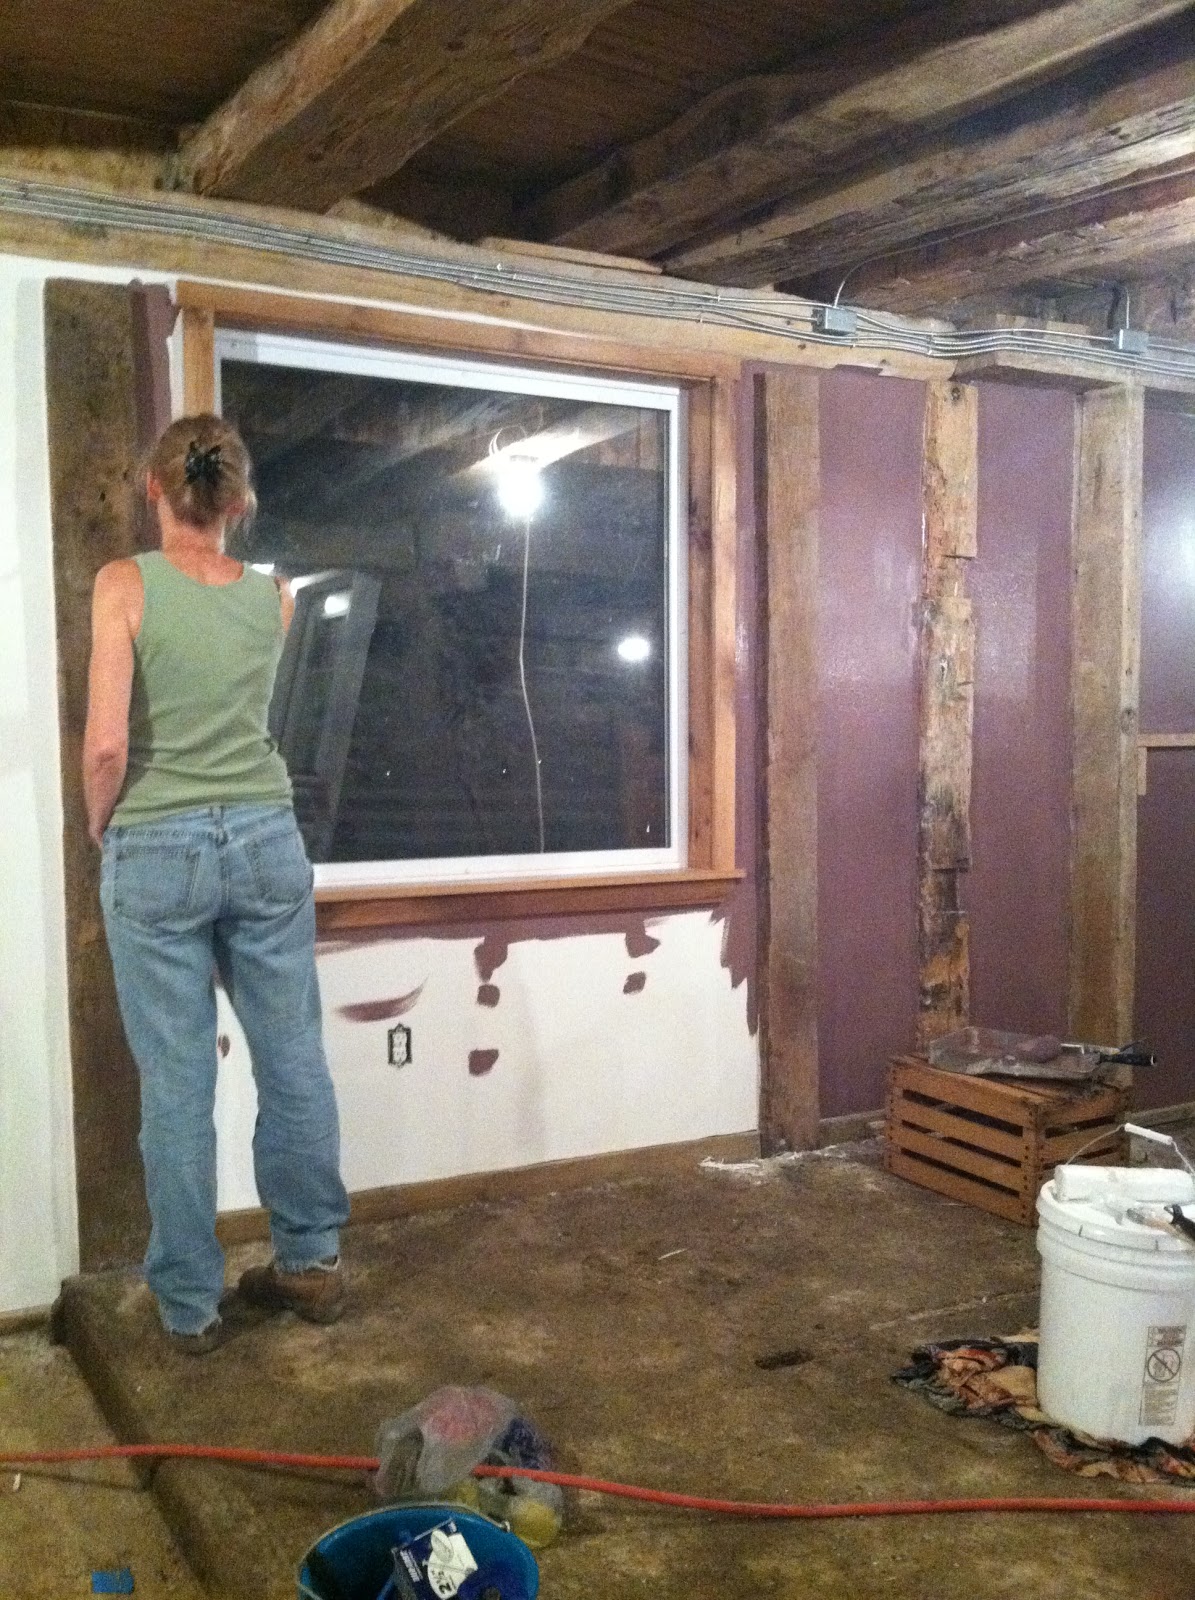
Finally finished “mudding” and sanding all the drywall – quite a challenge with all the crooked old beams and rough edges. Even found time to “prime” the drywall during the week. We finally had to make a decision for the color of the walls – our choices, we decided, were limited by the colors found in the various stones of the barn walls. Upon closer examination of the stones, there were a myriad of colors. Jeff’s preference was for a “real color”, not another version of beige or brown, which narrowed our choices somewhat. We ended up narrowing our search to a rosy sort of brick color or a darkish purple. We got chips from both rocks, took those to Lowes and tried matching them to paint strips – then bought 4 sample colors. The dark purple shade, called “Smoked Mulberry” was the one!