Barnwedding Countdown – Less than 2 weeks

We made lots of progress this weekend with finishing the barn in time for the wedding : 

  • Painted the railing on the crush pad
  • Painted siding on the front and side of the barn
  • 3rd coat of drywall put on and sanded inside
  • Window frames built from old boards we took off the horse stalls
  • Cut and painted boards for wedding signs

Drywall in the Barn

We finished pressure washing the rest of the barn ceiling early Saturday and  also worked on the wiring some more.   While the walls were drying off, we worked on the back fence row, cutting down low hanging tree branches and weed whipping.  Also mowed around both ponds, between the grape vines and the blackberry rows and drug load of brush to the burning pile behind the garden.

The rain started late Saturday afternoon, and we worked in the barn after that.  Jeff continued pointing the rocks on the back wall.  Jens, Tina and Lars worked on insulating between the studs, and then cutting and hanging drywall.  There were a lot of “tricky” pieces to cut, but Jens did a great job working around old crooked barn beams.  By Sunday afternoon, the drywall was up!

Building a Future Crush Pad!

Nothing like needing more space for a barn wedding to move projects along:  we had always planned on building a “crush pad” (for crushing berries and pressing cider) right in front of the barn…at some future date, but with a May wedding in the barn, and the need for more space, the crush pad suddently became an urgency. 

So earlier this week, on Tuesday, we got an entire dump truck load of gravel (around 20 tons).  Jeff and Lars worked every afternoon on moving the gravel to the area in front of the barn where another large concrete slab needs to be poured.  (Luckily we still have Zach’s tractor with the hydraulic front bucket to make this a manageable job).

Jens came over on Saturday and with his help we sank 6 pressure treated 6X6X8 posts around the perimeter of the future crush pad and cemented them in. 

On Sunday we build a form between the posts.  We then started building a “stone wall” about 6 inches inside the form to hold back the gravel….that way, there will be a smooth 6″ section of cement the entire way around the slab, with the gravel base under the rest of it.  The posts will be reset just a little into the concrete slab and will serve to hold on the railing.  The ground slopes quite a bit at that section, and while the front of the conrete slab is only a step up off the ground, we we will be about 3 ft above the ground in the back – which is perfect for pulling up with a load of fruit later.

And Some More Hats…

Really had fun knitting more hats – (should not have bought a hat knitting pattern book), but worked on the weaving as well, since it still gets dark pretty early in the evenings.

Making a Viking Hat – ala “How to Train Your Dragon”

Probably one of our most favorite animated movies ever has been “How to Train Your Dragon”.  One of the scenes, where “Hiccup” gets his first viking hat, has been the inspiration for our creation of this toddler sized version.

Before describing the assembly of this hat, it is important to recall the scene where “Stoic the Vast” (Hiccup’s father) hands his son the hat… pointing out that is has been fashioned out of half of his mother’s breast-shield  (and thus matches his father’s).

We made this hat entirely from items “found” around our house and yard:

  1. a fairly large sized bra (recommended double “G” – or other size to fit child’s head), that has been accidentally left by a visiting relative (hence “found”), ideally the child’s mother**
  2. fiberglass resin
  3. fiberglass body filler
  4. 2 large fender washers and drywall screws
  5. 2 cow horns (boiled and scraped clean)
  6. scissors, needle and thread
  7. hot glue gun and glue
  8. scraps of fur (we used raccoon, could use artificial trim)

** may want to get permission from her husband before attacking the bra if intended as a surprise

Assembly:
Cut one of the cups off the bra and paint it with fiberglass resin.  Let dry (following directions)… we let ours dry overnight.

Fill cow horns with body filler and let harden.  Mark position of horns on “hat”, and from inside, hold a fender washer and screw drywall screw through washer into the center of the cow horn.  Repeat on other side.

Cut off sections of the back of the bra with the hook and eyes and glue into position on the back part of the hat (for adjustable straps).  After gluing, sew on permanently with needle and thread.

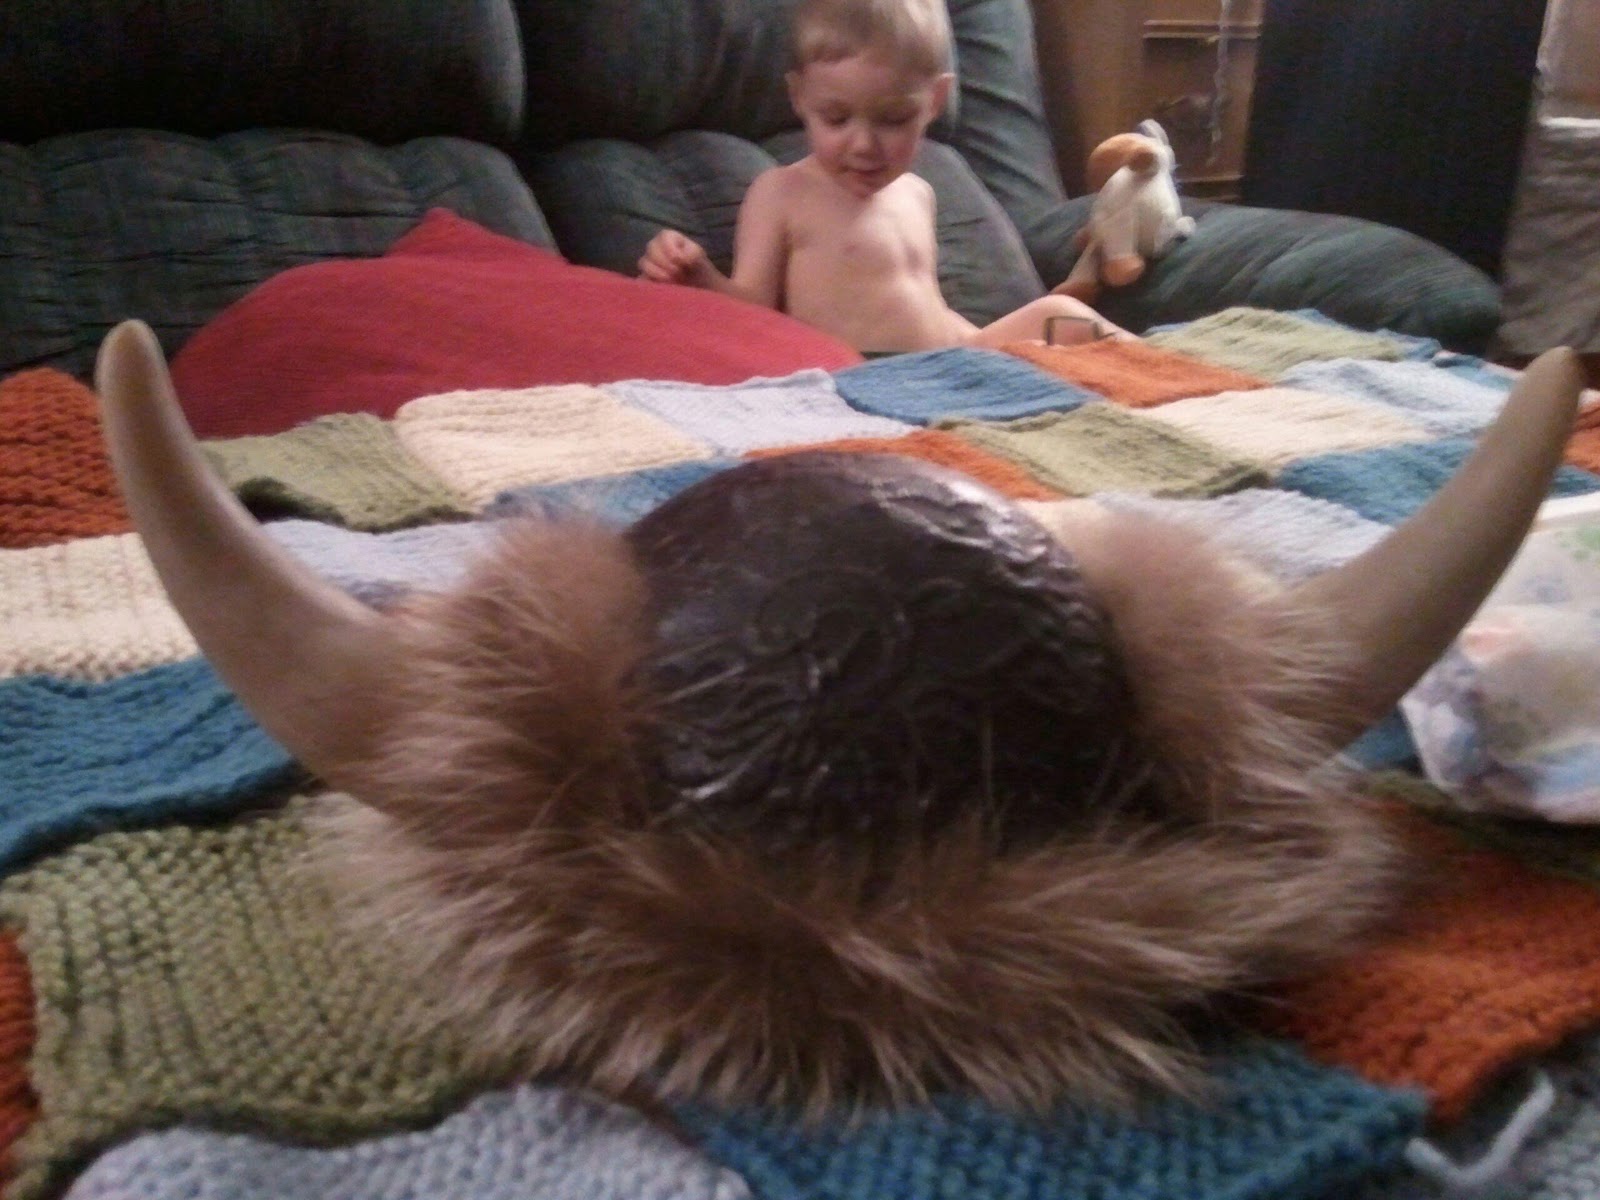
Cut left over fur into narrow strips and hot glue into place for decorations…and voila:

Posted in DIY