You could say that this is not the best time to tackle a kitchen remodel – but then again, is there ever a good time? We certainly had thought about updating and “refreshing” our kitchen, but it was pure luck that we got started last week.
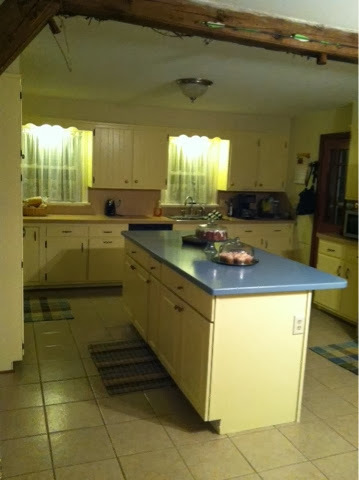
The whole adventure began with a Craigslist ad for a used kitchen island. Not just any island, but one that was actually 7 feet long. (we’ve been looking, and a long kitchen island is a rare find!). On the picture we saw nice looking white cabinets, with a – what we assumed was a laminate – counter. The price was more than reasonable, so last weekend we drove to Chester county to pick up the island. (That was “Weekend No. 1 of the remodel project) Turned out that the countertop was solid Corian, in a soft blue hue. This meant the dark wooden kitchen cabinets needed to be painted – now!
Jeff and Lars put the island together and they even wired it for outlets on both sides. The cabinets needed to be leveled to sit solid and straight on out old farmhouse floor, which took some extra work. They did all this in the evenings after school.
By Friday night, we had the island solidly installed, and taken off all the kitchen cabinet doors. We scrubbed the doors, and the face-frames and washed them down with mineral spirits to get them ready for the paint. We basically painted all weekend: the kitchen cabinets in a soft butter yellow and the wood trim around the windows, door-frames and wainscoting in a warm white.
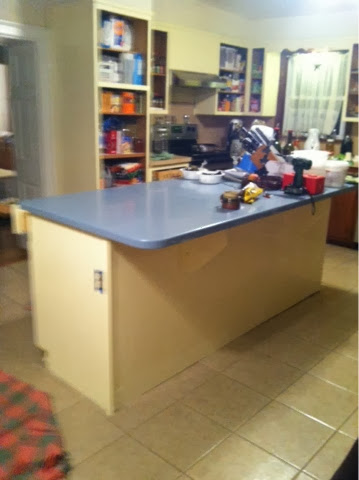
By this evening we are probably 75% done. Most of the bottom cabinet doors need another coat of paint before they can be hung back up. Some of the dishes need to be put away again and of course all the tools need to be cleaned up. Right now we can’t even see the new island top as it is covered with tools, hinges and door knobs. But such an improvement in the kitchen – can’t wait to have it done!
 |
| After |
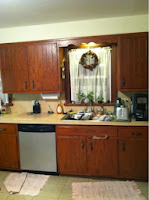 |
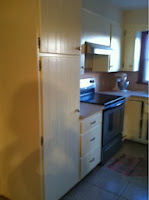
| Before |
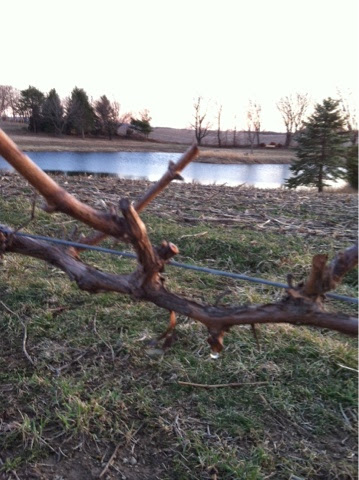
 Good news is that we finished pruning all the blackberries – including the newest patch behind the house. Once the pruning and weeding was finished, Lars and Jeff set the remaining trellis posts. Jens came this weekend and helped run the trellis wires. It looks great.